Cryorig H5 Universal: Review

The whole reason for this test was simple, can a middle grade (less than $50) cooler perform well enough to keep our Intel Core i7 6700K cool under an overclock? We previously had a dual fan Cooler Master Hyper 212 and in our opinion, the temp spikes seemed unreasonable and related to the CPU TIM application more than the cooler. For this test series, please remember the Hyper 212 can be found for $29.99 and the Cryorig H5 Universal was picked up for $46.99. These two products are in different categories for budget minded shoppers and the results will be different.
Introduction
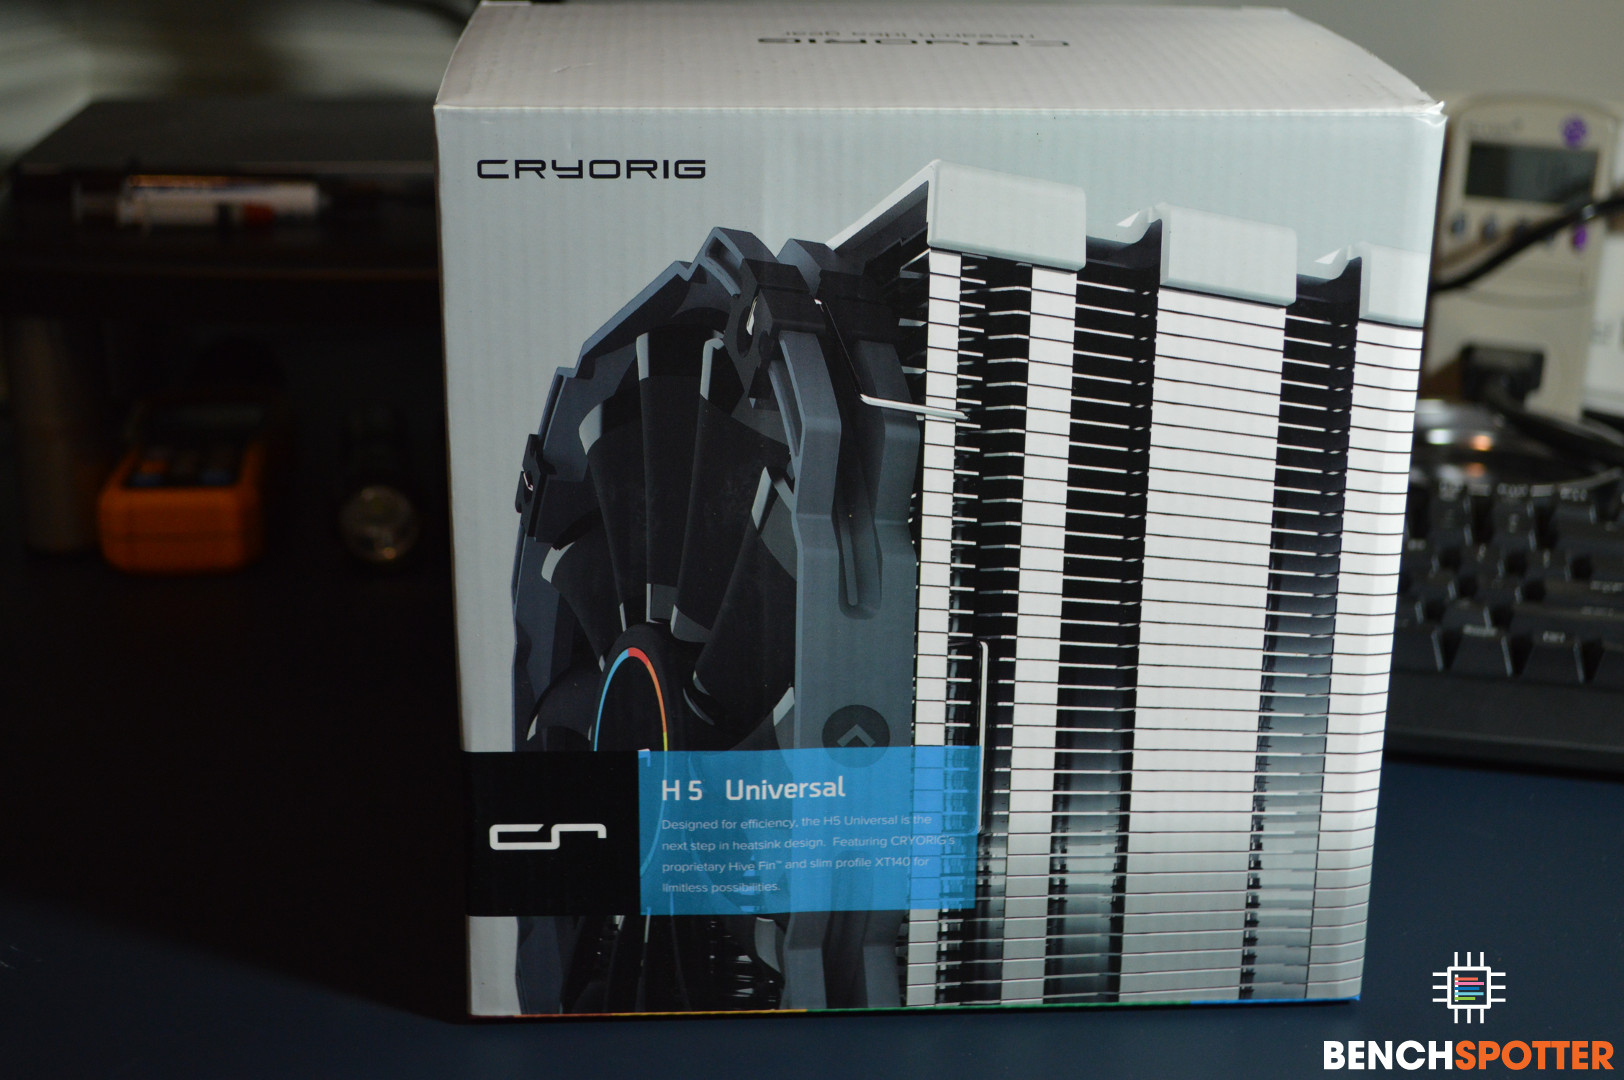
We bought the Cryorig H5 Universal off amazon about 5 days ago and wanted to see how well this wallet friendly cooler can handle our Intel Core i7 6700K overclocked processor. Our overclock is not extreme by any measure, but it is high enough to require voltage changes which increase thermals and should be achievable by most Intel i7-6700k owners. Overclocking here at BenchSpotter, is a tricky subject as it’s never a guarantee for end users and results can be wildy different for each CPU. Results of overclocking can also change based on the silicon itself, hardware and environmental. That being said, we wanted to test the thermal capabilities of this cooler and we kept our 4.6GHz overclock, enabled with a variation of pure CPU and CPU with GPU stress testing.
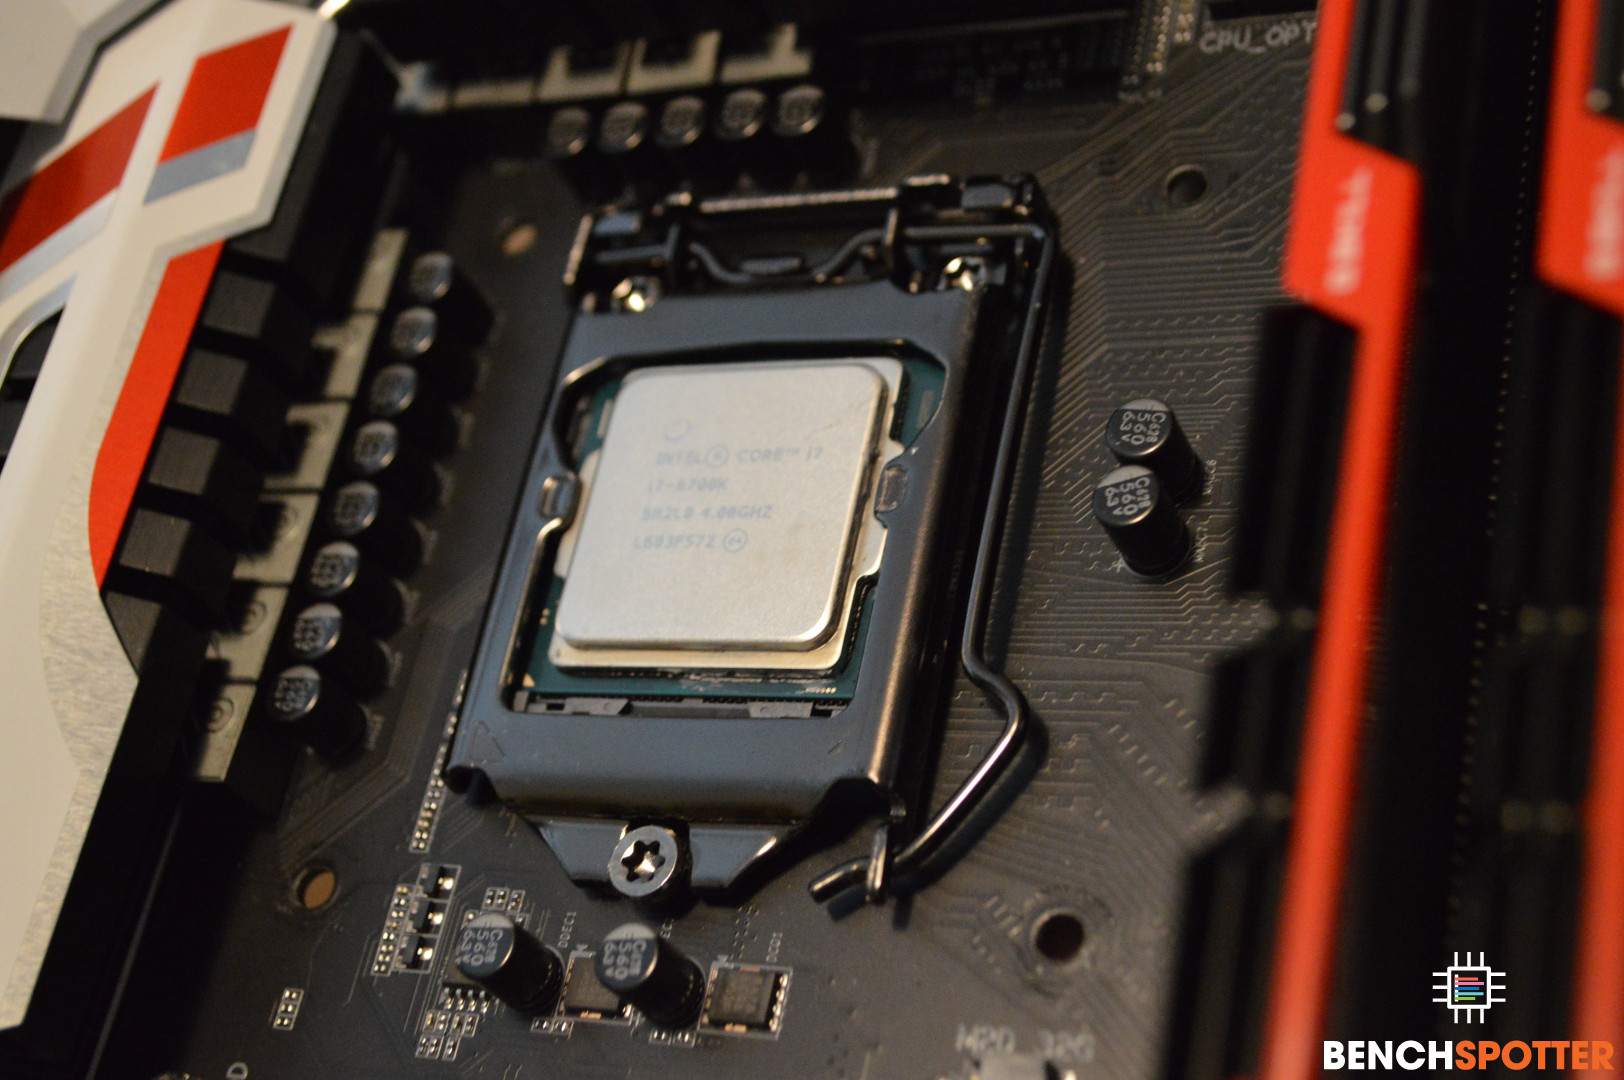
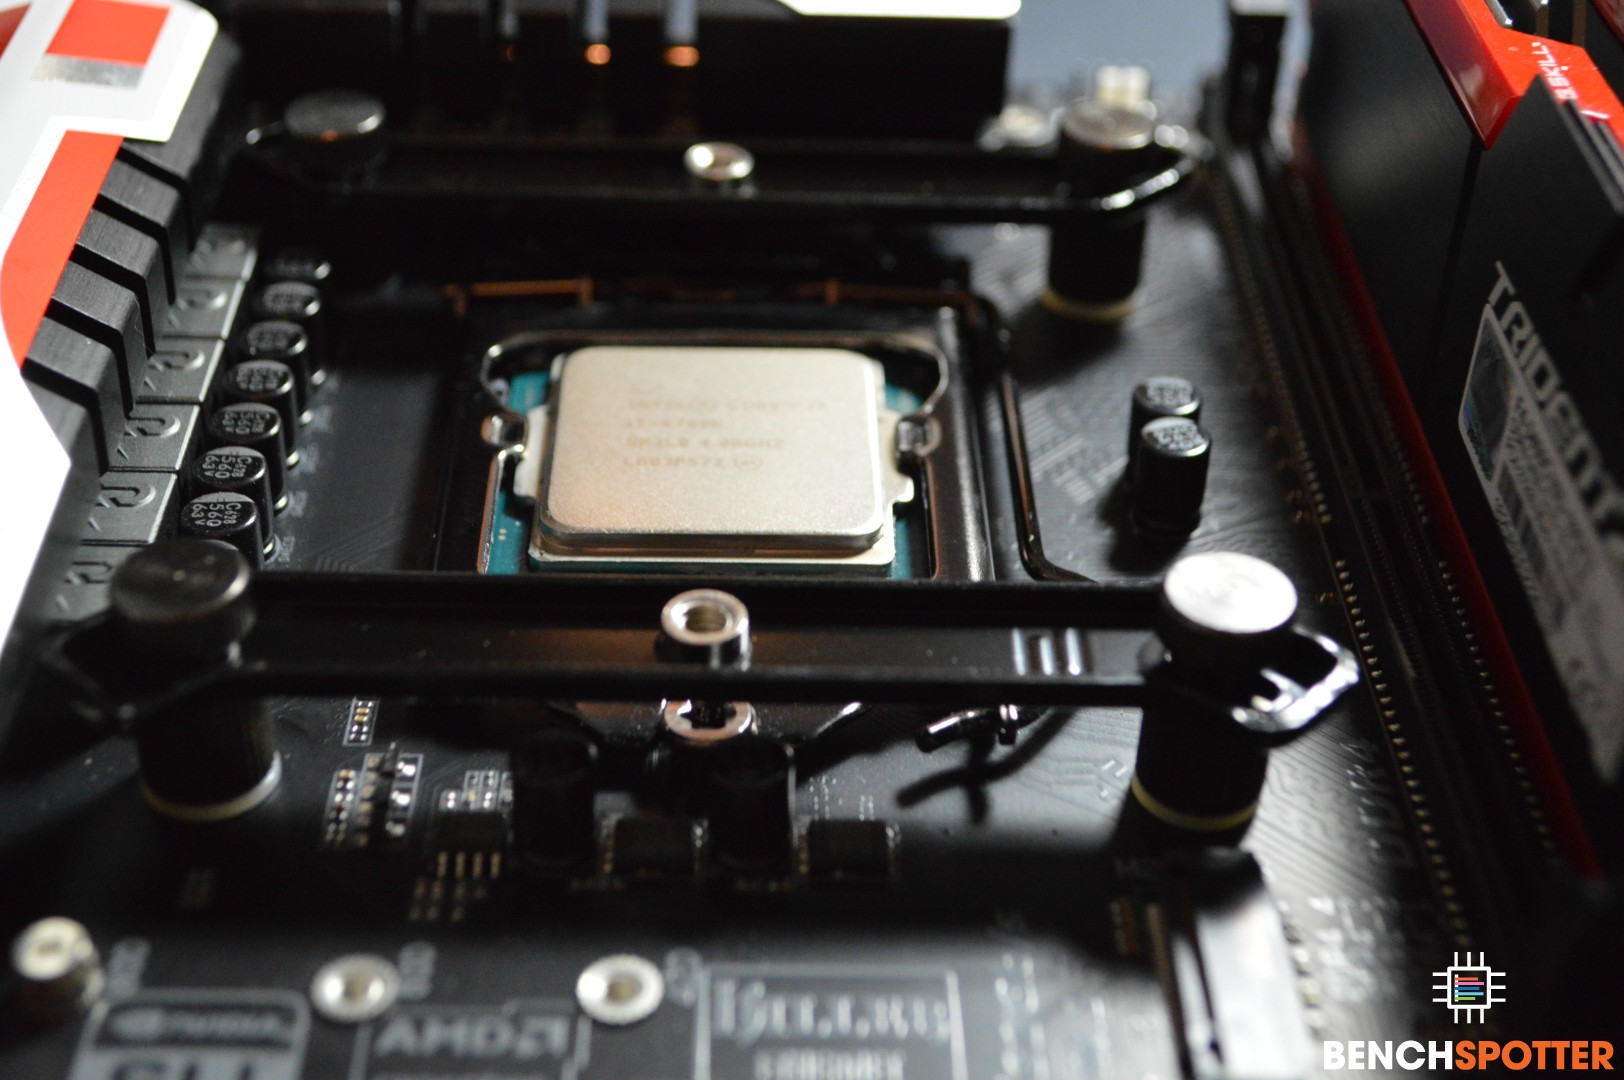
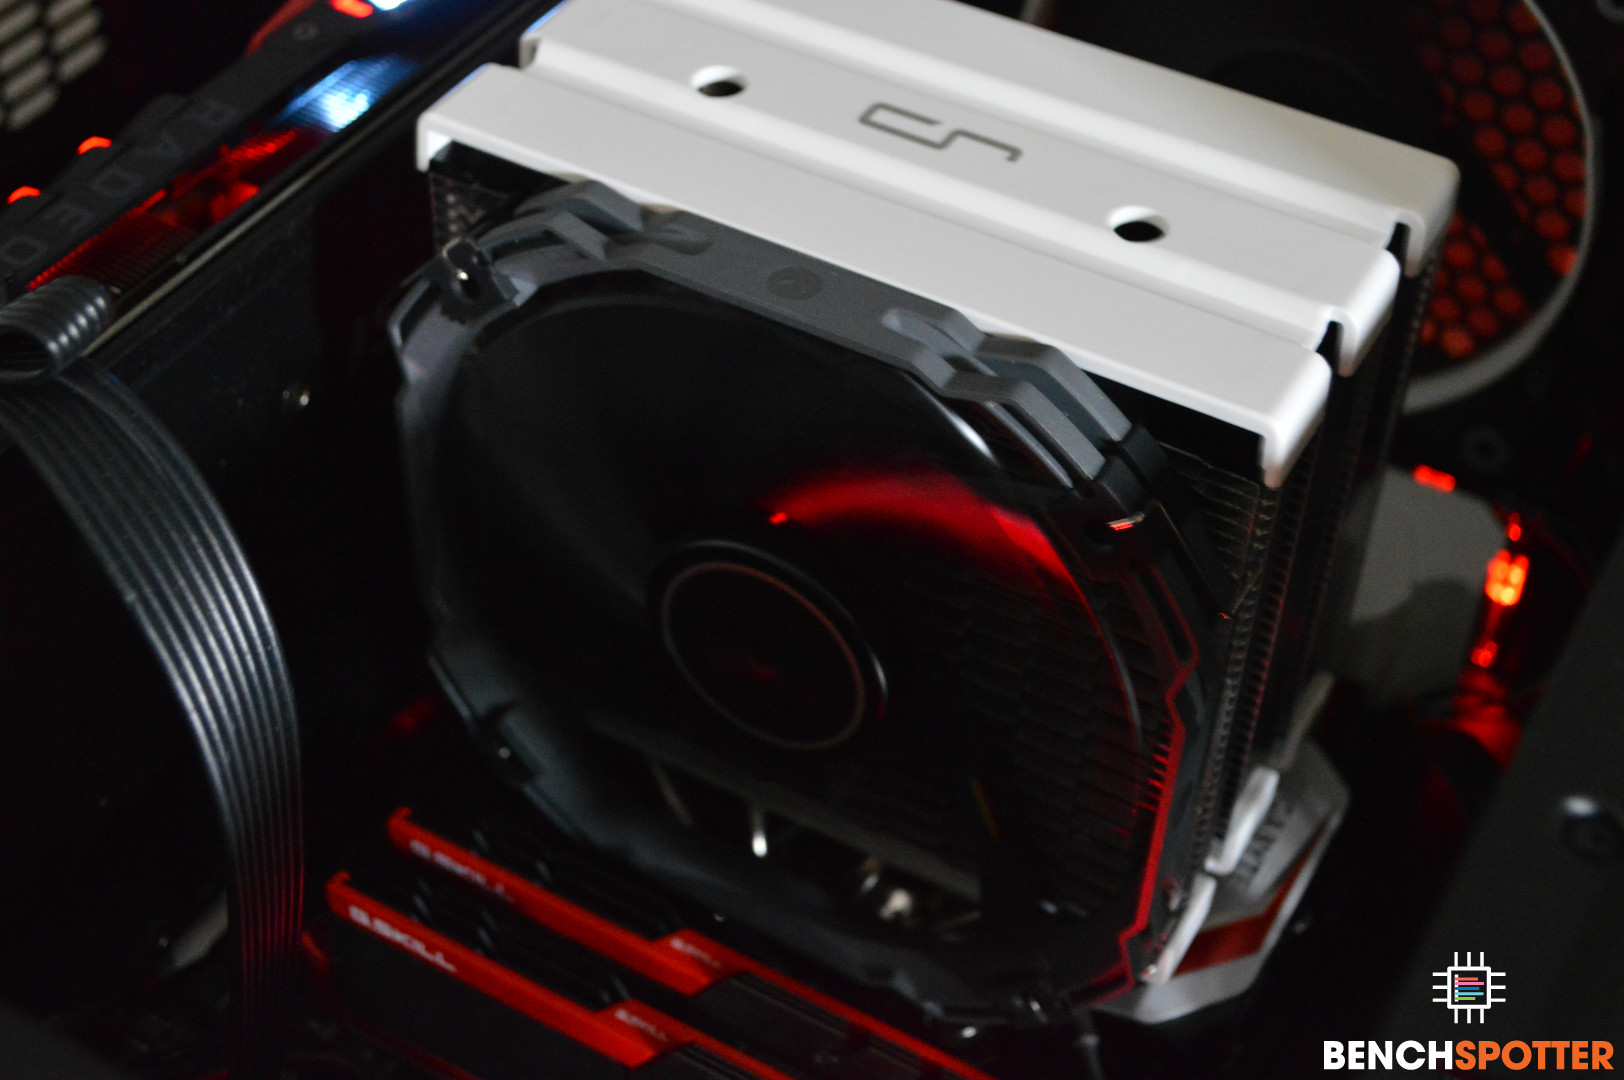
To install this cooler, you will need to remove any cooler already installed on the motherboard (if back side not accessible). For our tests, we used an Gigabyte G1 Gaming Z170 Motherboard (GA-Z170X-Gaming 7) motherboard, paired with the Intel Core i7 6700K retail boxed processor. We had previously installed the Cooler Master Hyper 212 , which is an excellent cooler given the $29.99 price tag, but provided us with fluctuations in thermals that seemed unneccessary.
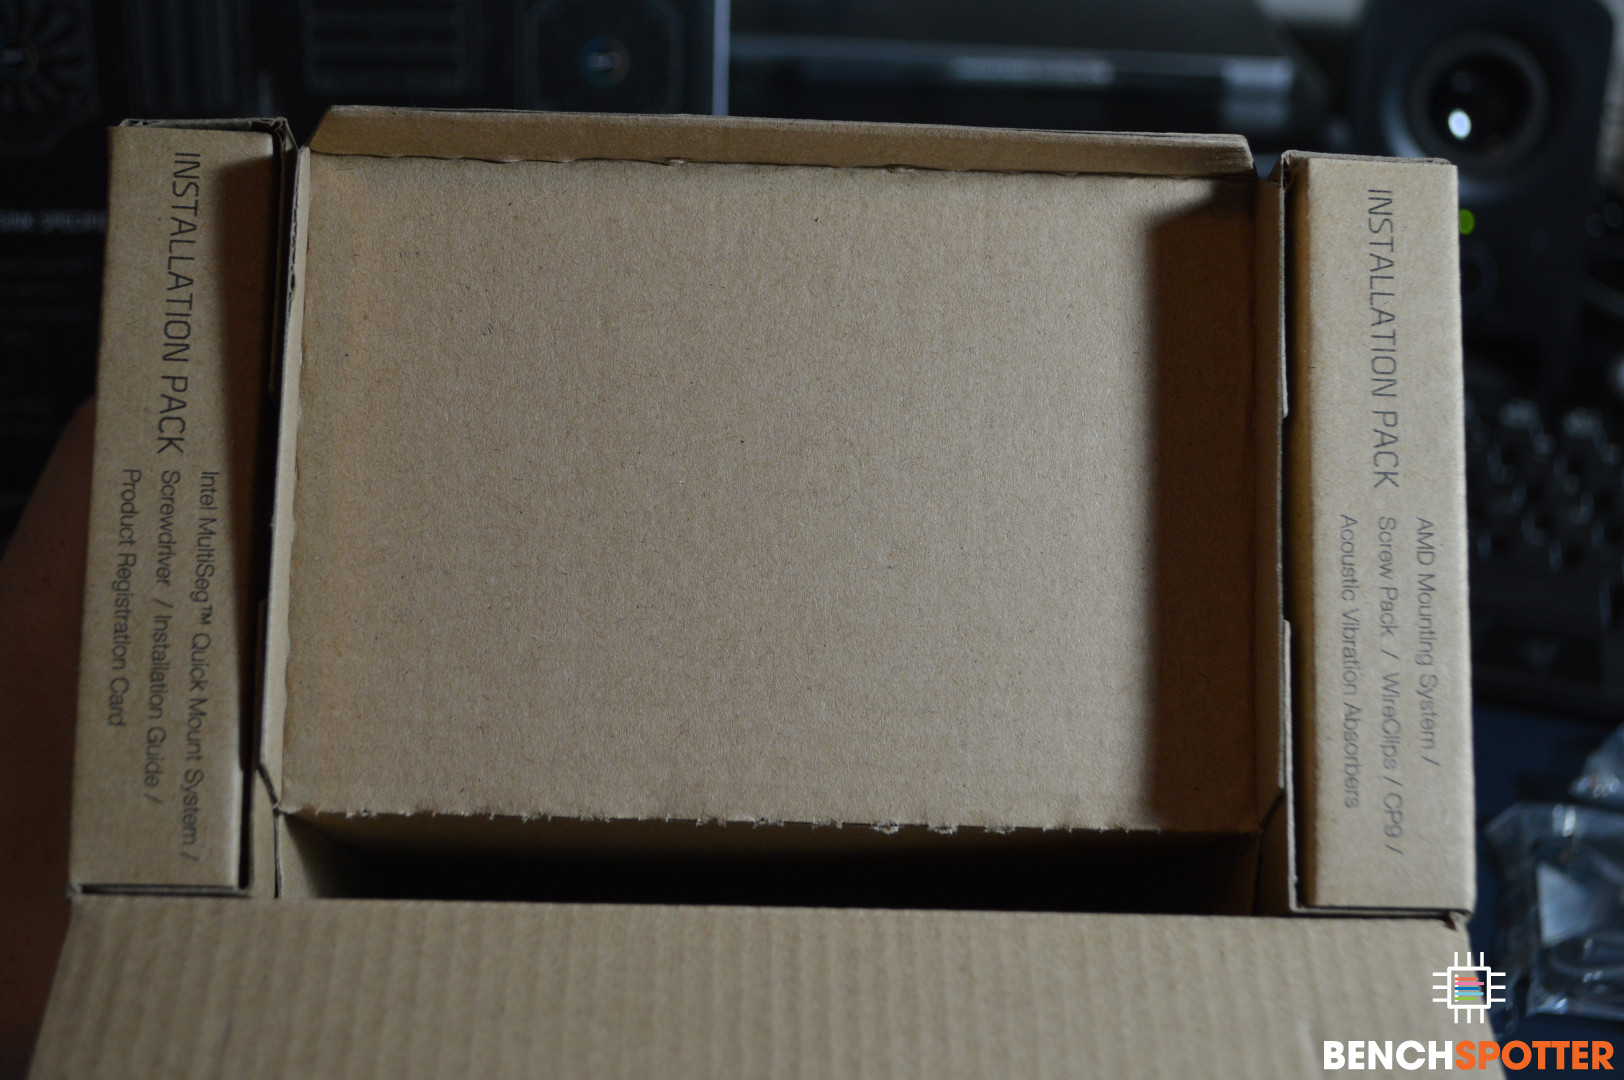
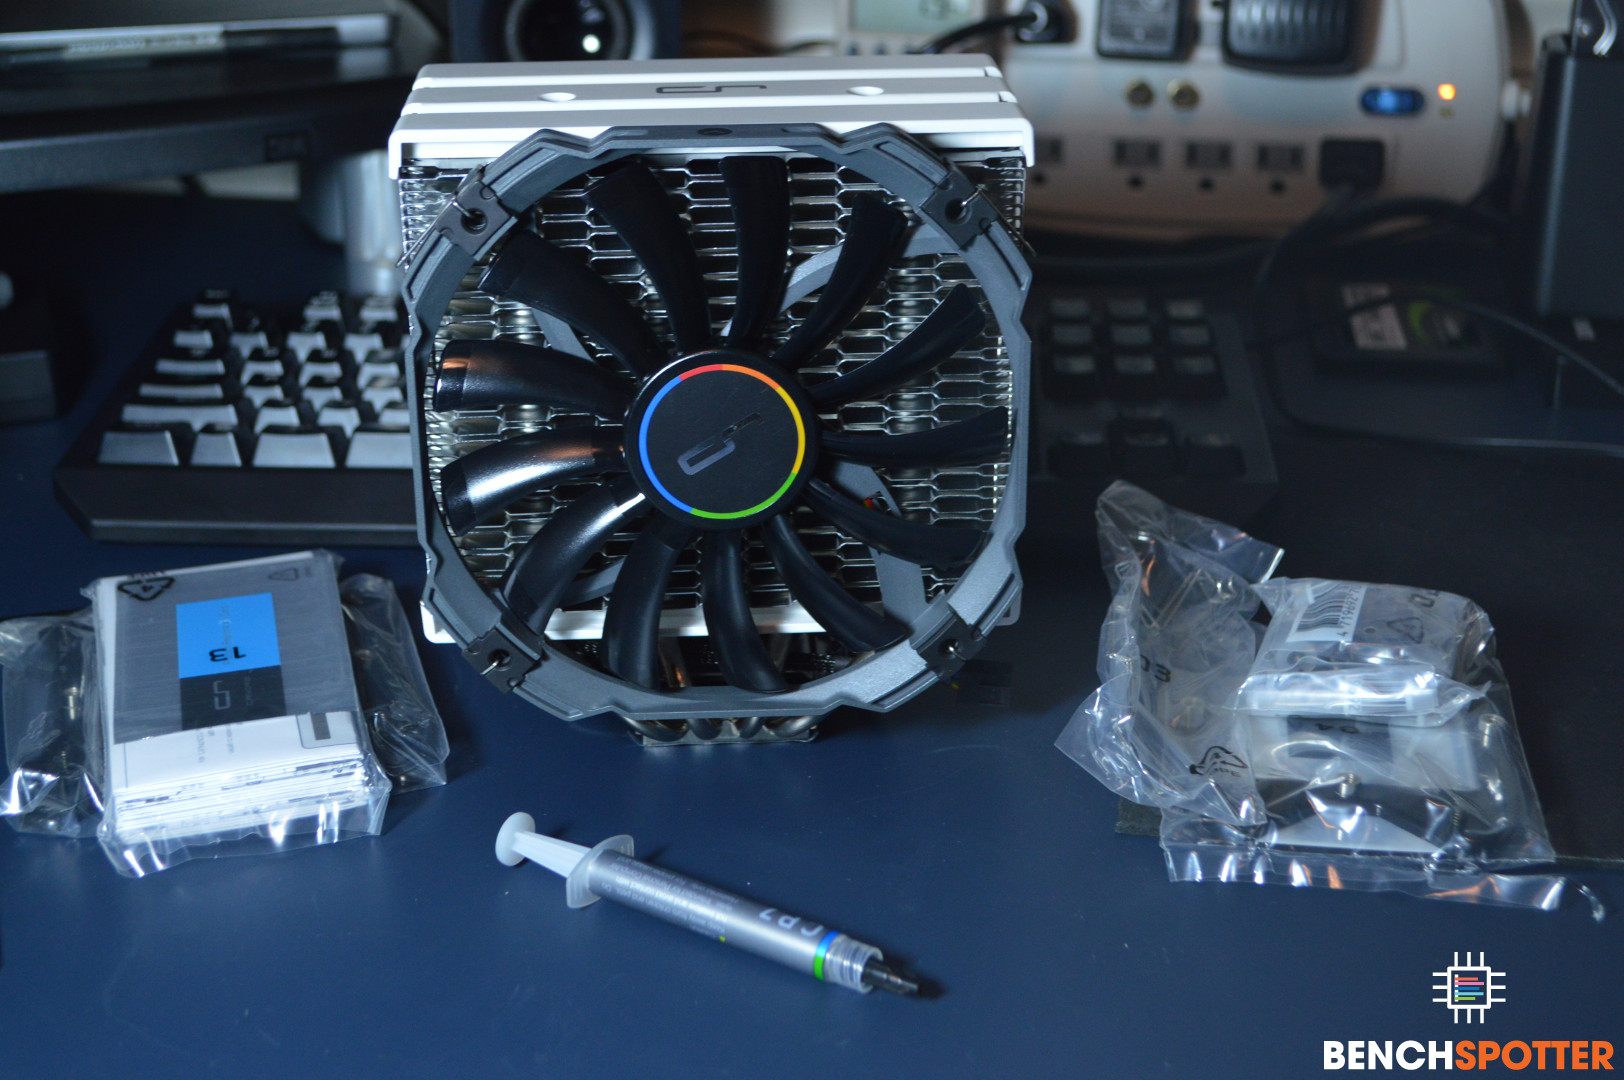
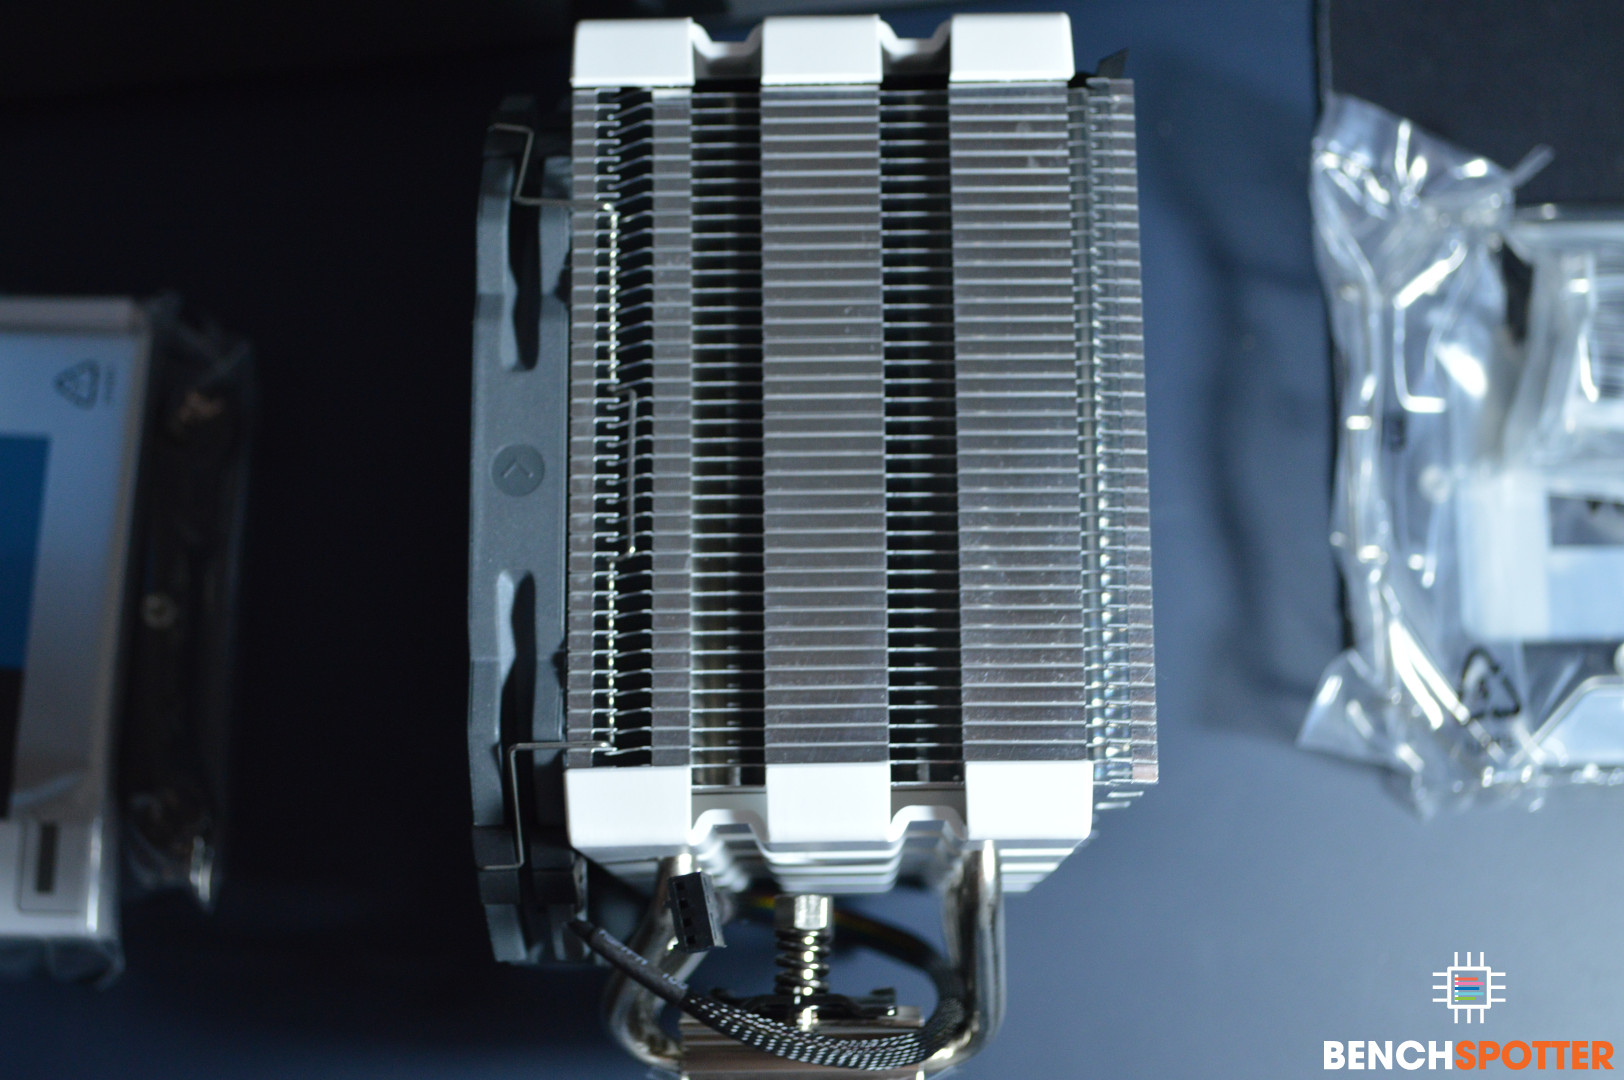
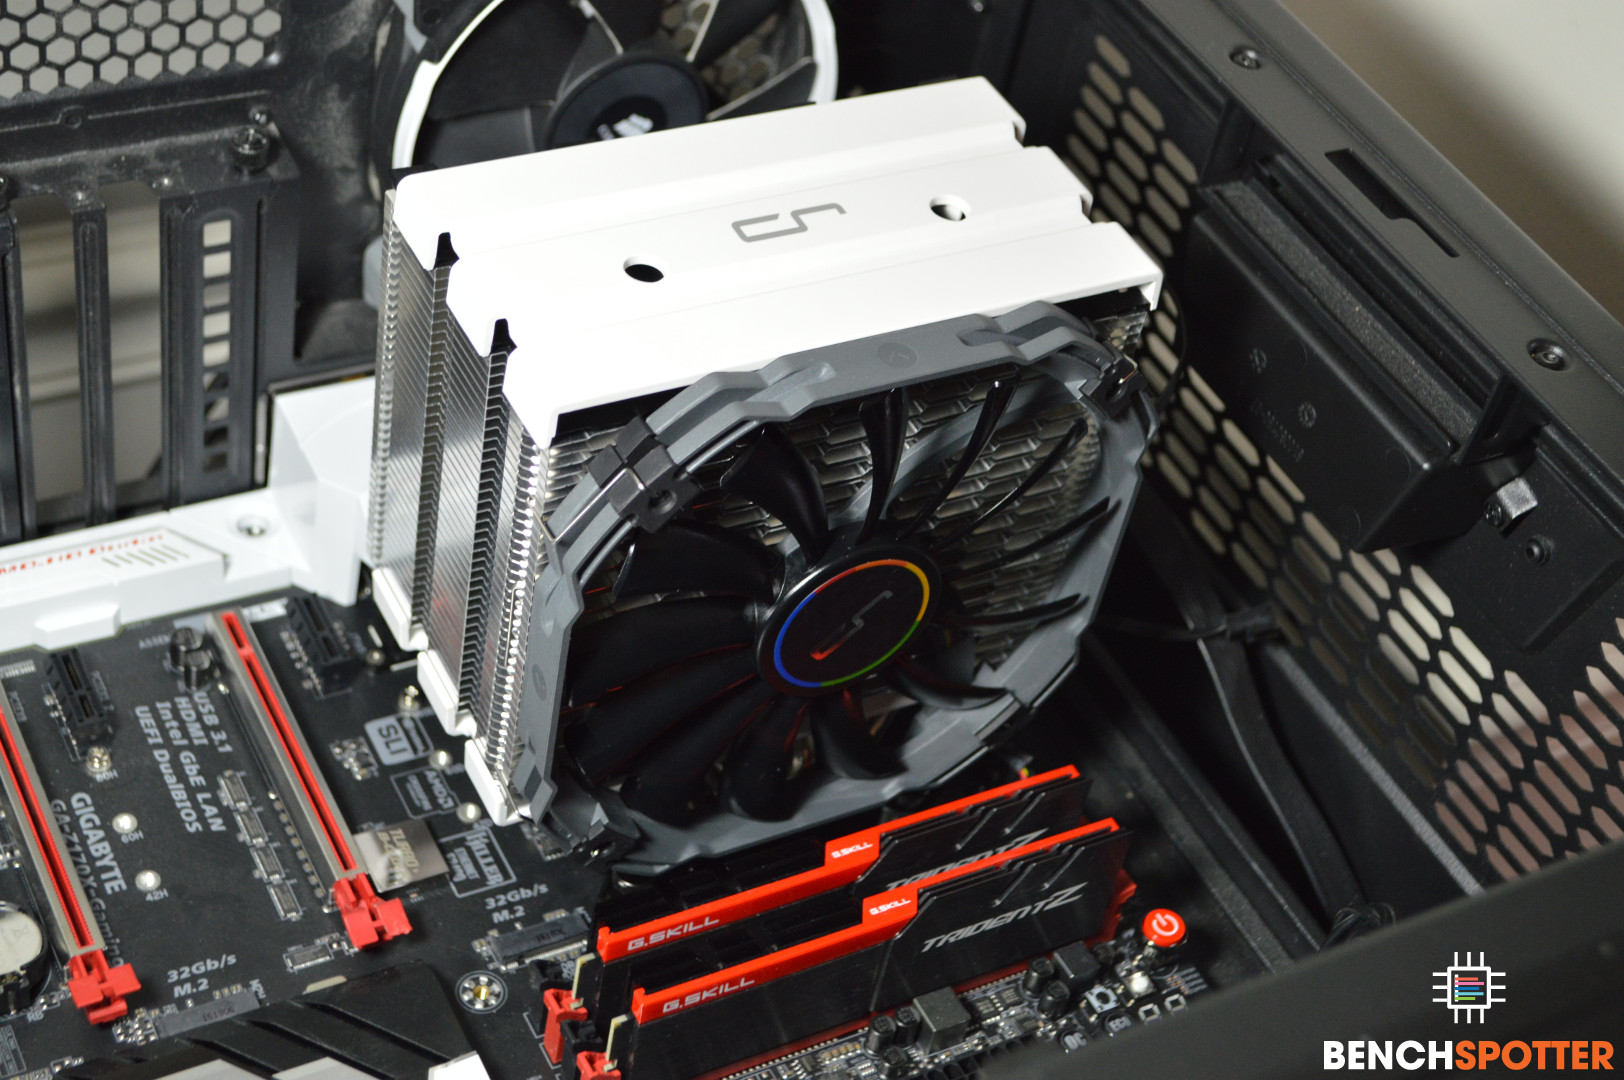
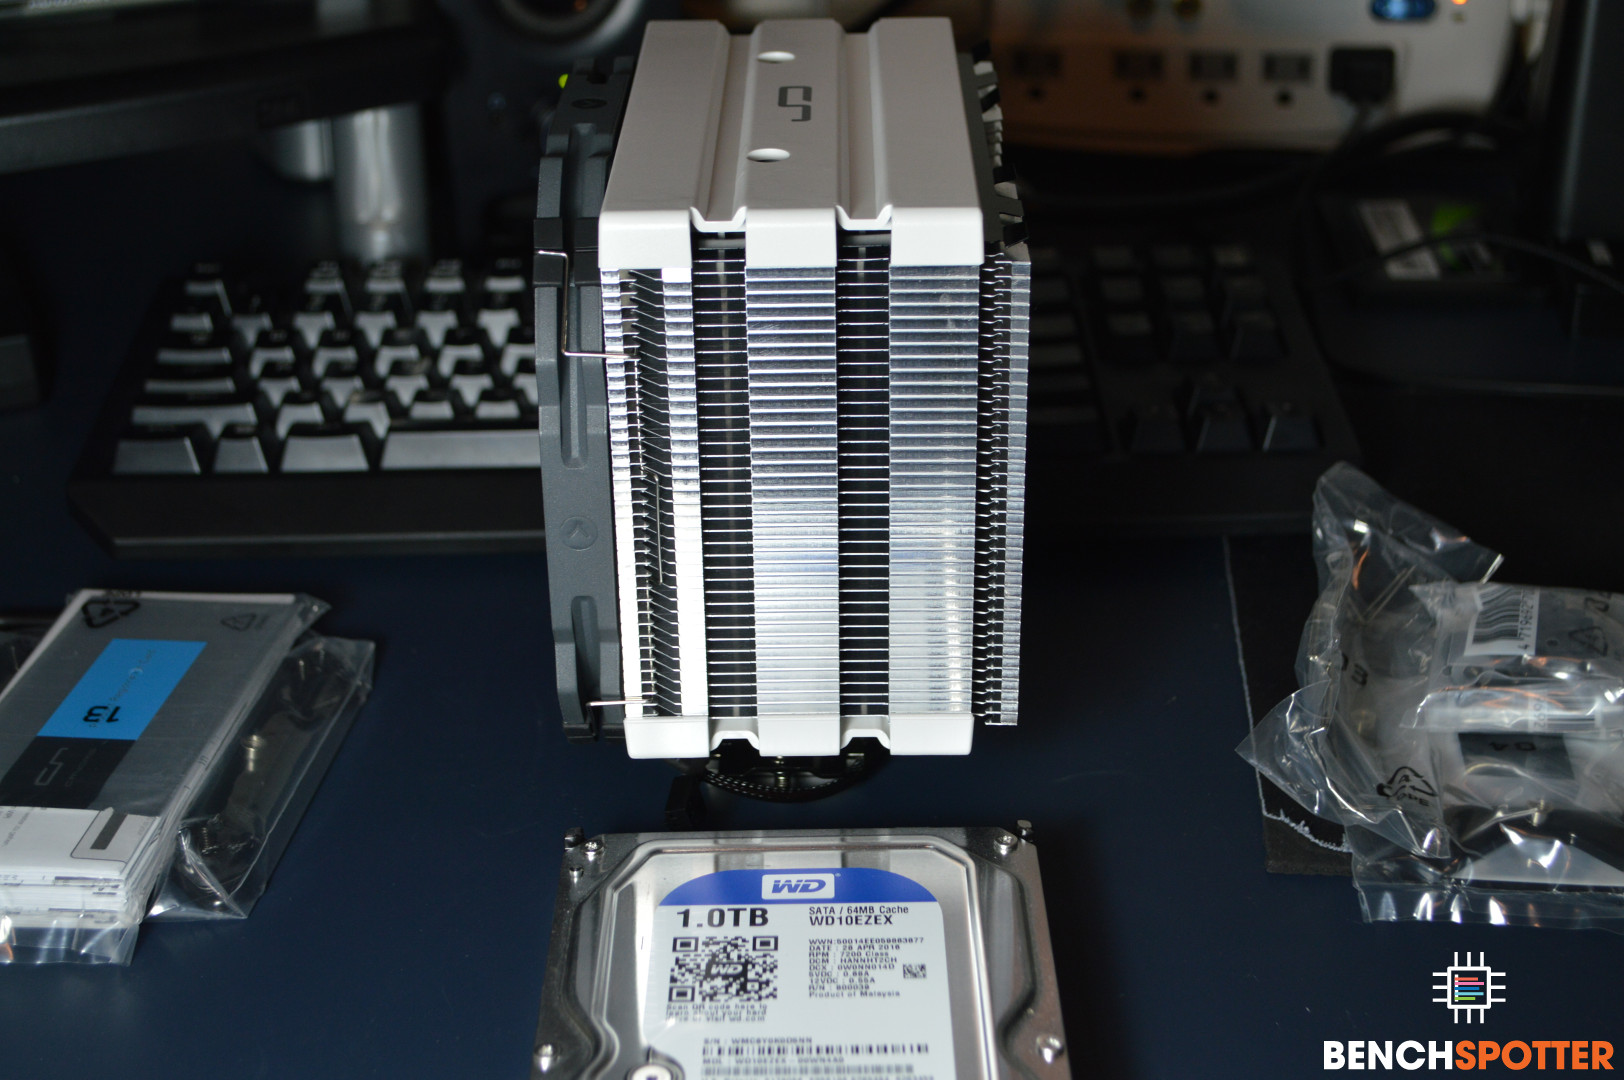
Upon inspecting the cooler, it requires a rather long screwdriver to reach the mounted base screws and this gave us some concern for user installation. Upon further review of the box contents, we noticed a handy black metal screwdriver had been included for the installation. The packaging is clearly labeled and the cooler was well protected in the retail packaging. Installation of the correct brackets was rather easy and required little effort or complications. We did use some pliers for tightening the thumb screws as we wanted to guarantee the mounting was solid and wouldn’t come loose.
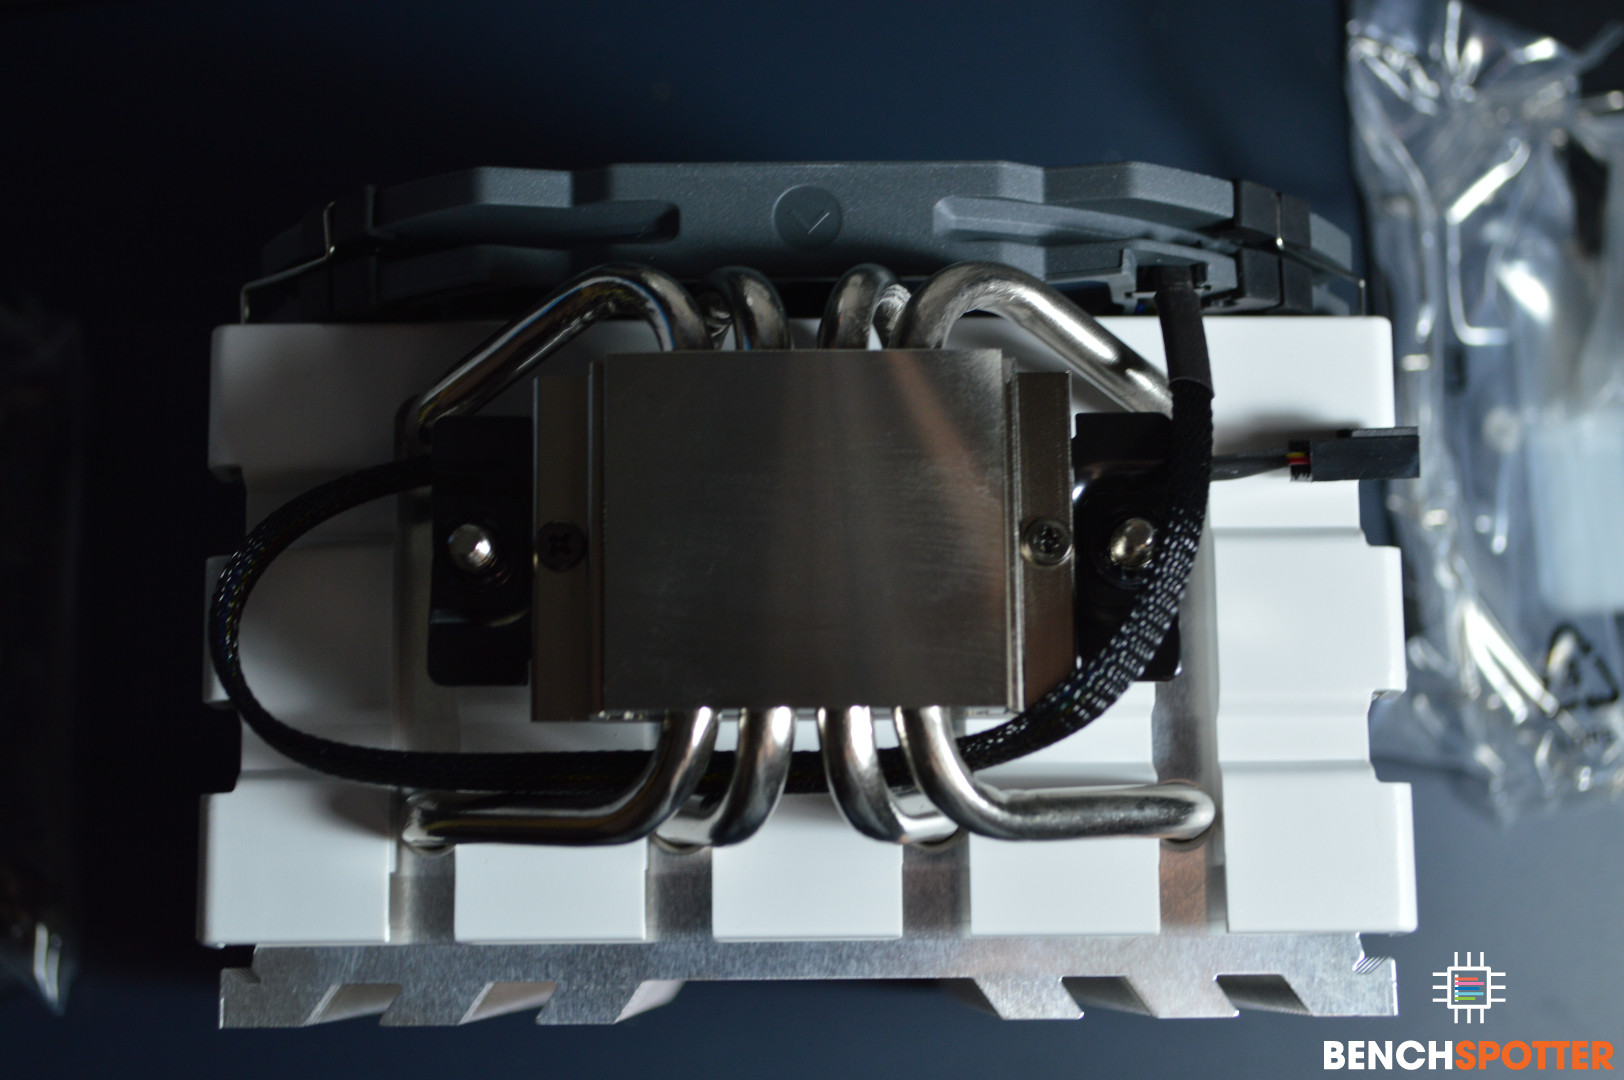
Once mounting brackets are installed, you simply apply your desired thermal paste, invoke whatever paste spreading method you prefer and set the cooler on top. Using the provided screwdriver, insert in one of the two holes located on the top of the cooler and turn clockwise. Make sure to tighten both sides evenly so the paste and cooler, make even contact on the CPU heat spreader.
Test Methodology
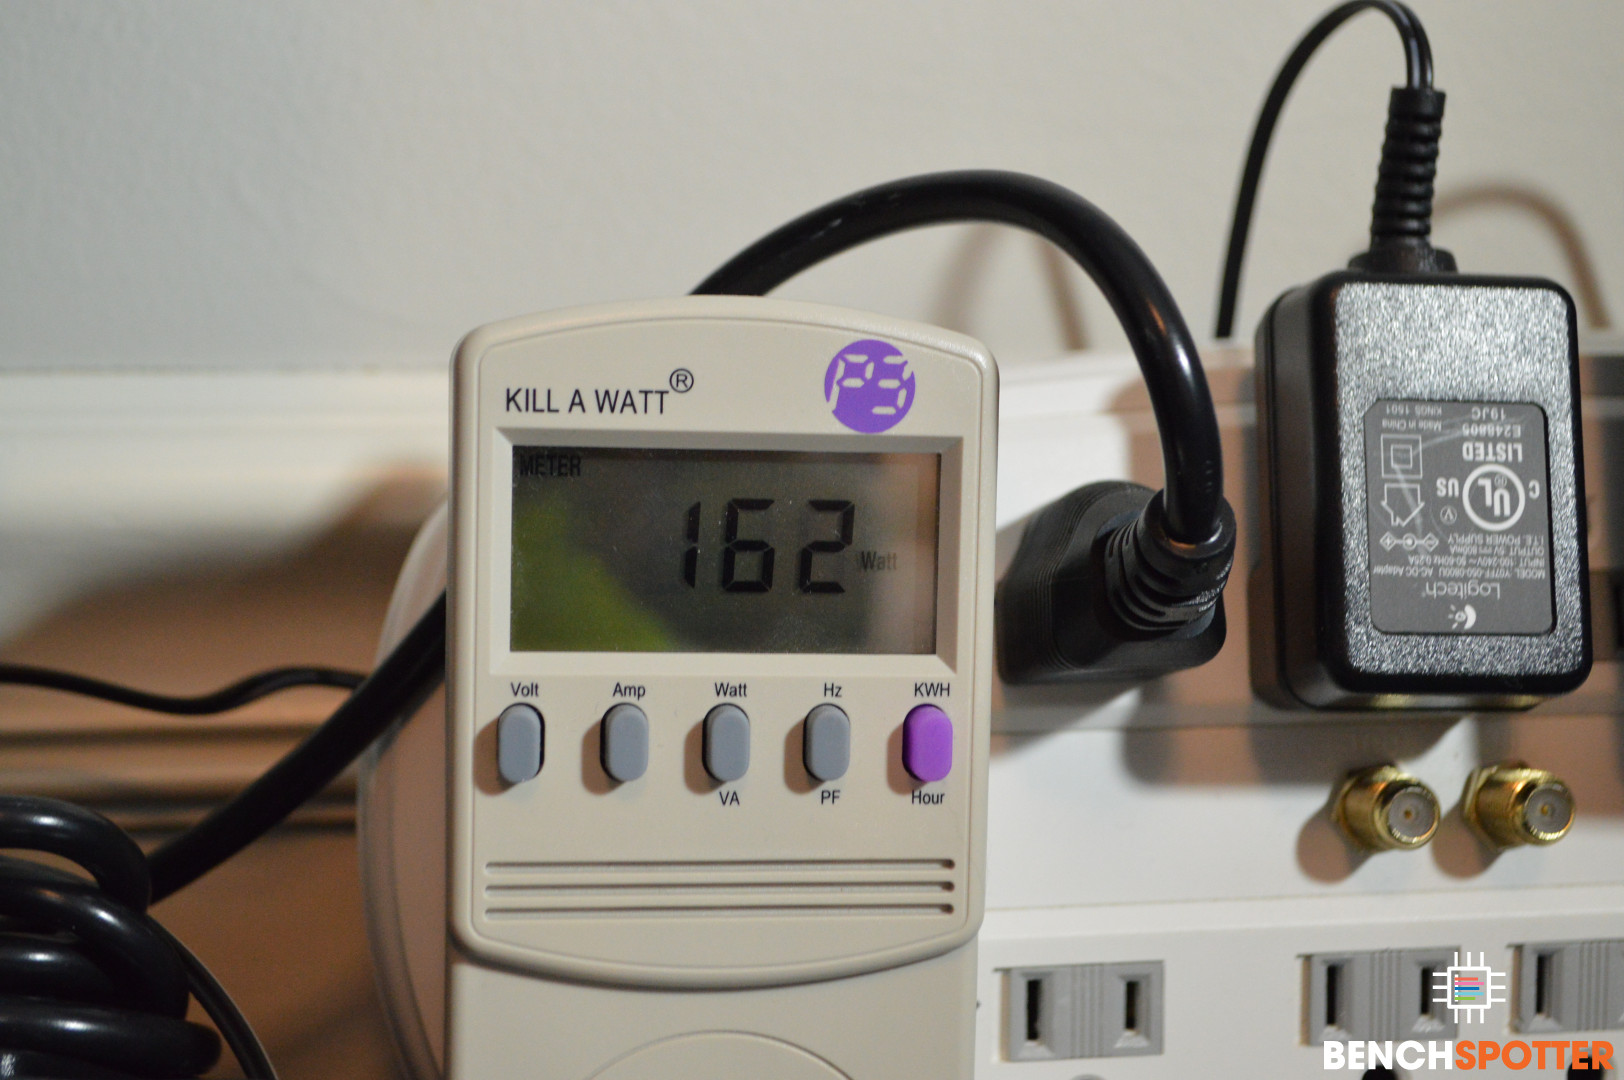
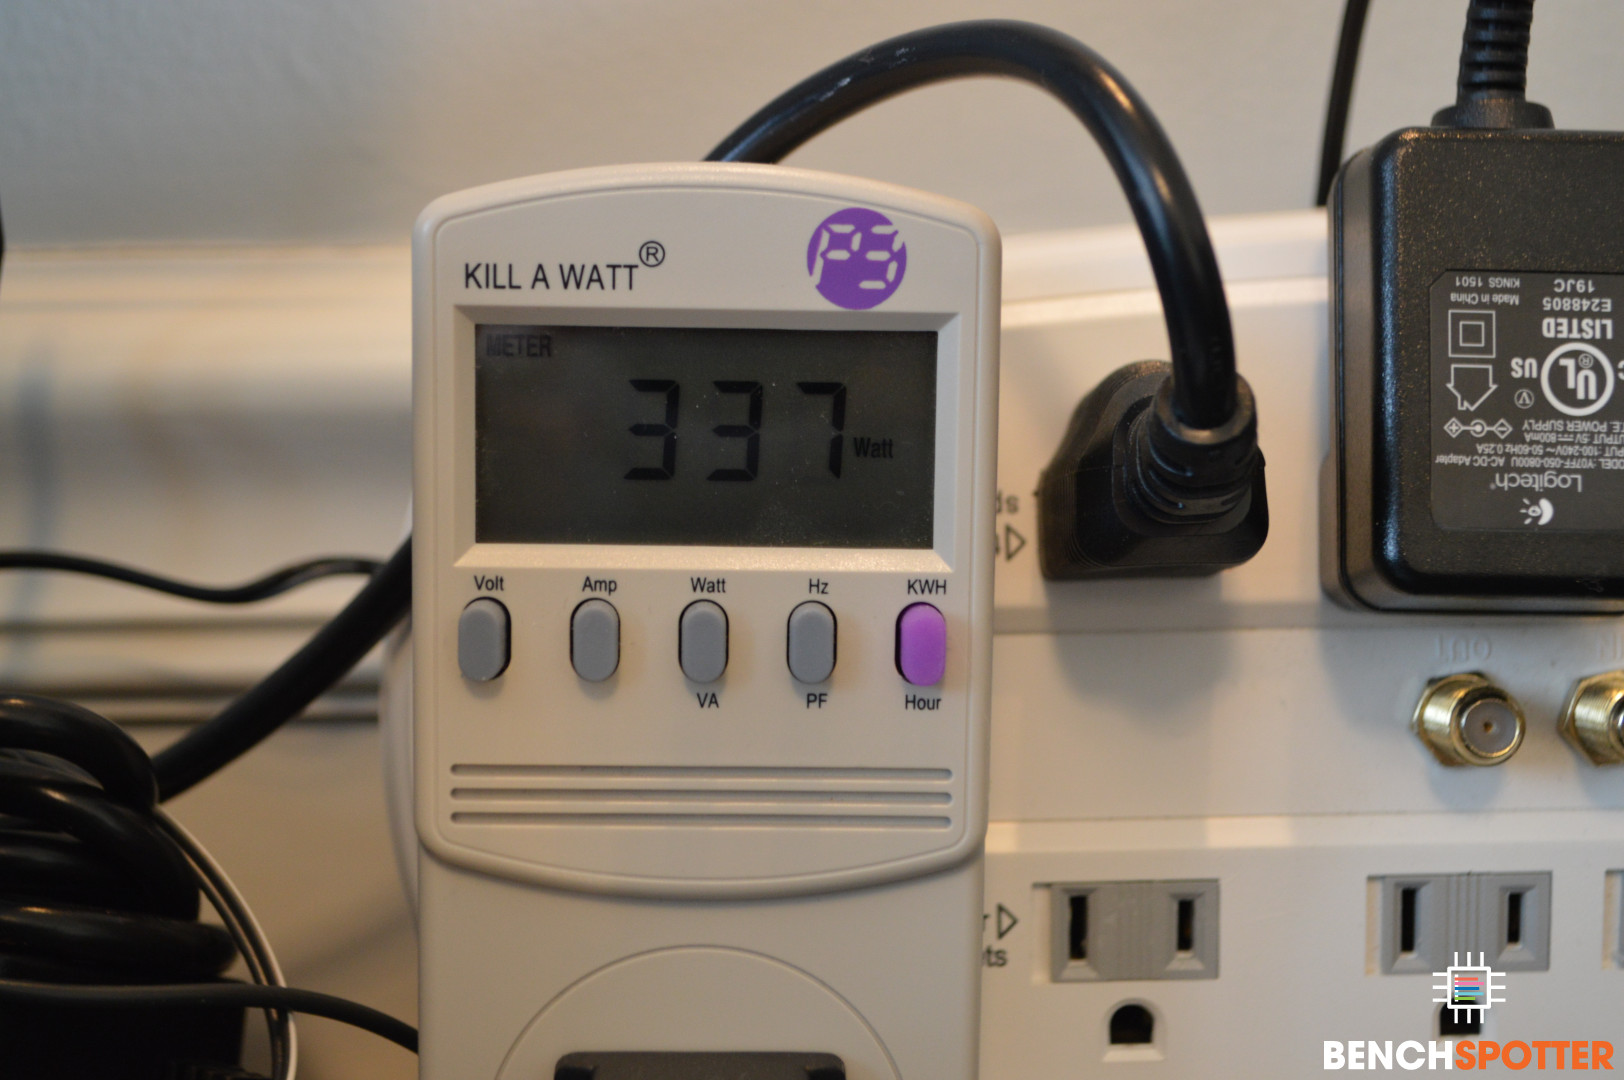
For this review, the metrics are rather simple. How much noise does this cooler create and how much heat can it dissipate? With that in mind, we devised a series of four different tests to measure its capabilities in a series of different configurations and load types.
Open Case - CPU Only
For this test, we opened the top panel of our Cooler Master HAF XB II EVO case and kept all case fans (front and rear) active. We ran Aida64 Extreme stress testing for 10 consecutive minutes while monitoring system health and stats with HWiNFO64.
Open Case - CPU and GPU
For this test, we opened the top panel of our Cooler Master HAF XB II EVO case and kept all case fans (front and rear) active. We ran Aida64 Extreme stress testing and Unigine Heaven (extreme preset) for 10 consecutive minutes while monitoring system health and stats with HWiNFO64.
Closed Case - CPU Only
For this test, we closed the top panel and connected the top panel fan of our Cooler Master HAF XB II EVO case and kept all case fans (front and rear) active. We ran Aida64 Extreme stress testing for 10 consecutive minutes while monitoring system health and stats with HWiNFO64.
Closed Case - CPU and GPU
For this test, we closed the top panel and connected the top panel fan of our Cooler Master HAF XB II EVO case and kept all case fans (front and rear) active. We ran Aida64 Extreme stress testing and Unigine Heaven (extreme preset) for 10 consecutive minutes while monitoring system health and stats with HWiNFO64.
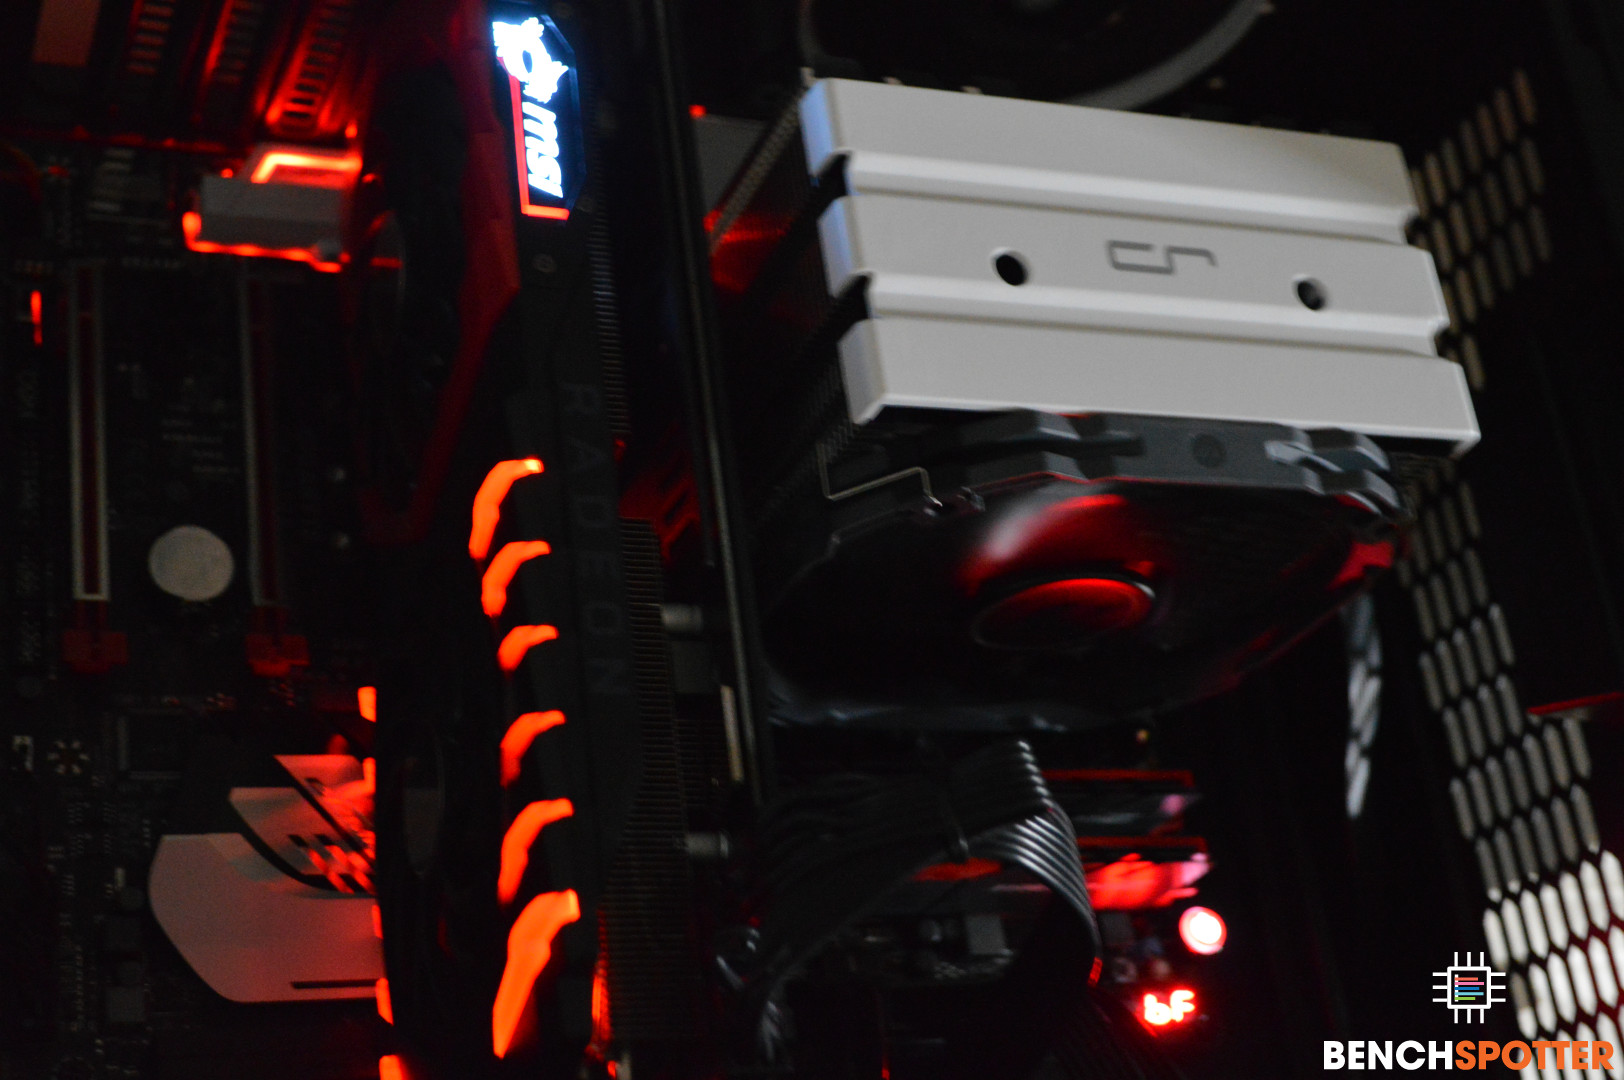
Now that our test methodology has been defined, we are ready for the results! It's also worth noting, our GPU (MSI RX 580 GAMING X 8G) ran at the full clock speed 1393MHz, without dips in frequency.
Results
| Decibels | Test Duration | Average Temp | High Temp | Idle Temp | |
|---|---|---|---|---|---|
| Case Open - CPU Only | 42dB | 10 Minutes | 77c | 88c | 31c |
| Case Open - CPU and GPU | 42.5dB | 10 Minutes | 79c | 93c | 31c |
| Case Closed - CPU Only | 40dB | 10 Minutes | 79c | 93c | 30c |
| Case Closed - CPU and GPU | 41dB | 10 Minutes | 82c | 95c | 30c |
Conclusion
From the results, you can see it’s a bit of a mixed bag. In some tests we see upper max temp reached of 95c while the highest average is 82c. This leads to a different problem that’s more of an Intel issue and less of the coolers capabilities. These “spikes” are from Intel’s use of TIM (Thermal Interface Material) instead of solder on the silicon and heat spreader. During our testing, we saw all cores spike for less than a second and all cores seemed to be effected regardless of cooler and paste application.
Without going too much into this subject, it’s a problem current generation Intel processors all share and creates a different experience for each user based on the application of TIM per processor.
Back to the cooler results, for a middle ranged cooler, we are very happy with the audible capabilities of this cooler and its ability to dispapate heat. The cooler, didn’t break the bank and it certainly was able to keep our OC’ed processor from reaching any thermal throttling over an extended period of stress testing. Normal usage (gaming, browsing, etc) showed the thermals around 50c-60c and provided a cool and quiet experience.