RetroPie: Building Your Own Retro Gaming System

RetroPie: Building Your Own Retro Gaming System
Written by John Ham Published Friday, June 8, 2018 - 14:05So, you found yourself wanting to relive some of the past gaming excitement and adventure, but didn't want to deal with scalpers on eBay selling NES and SNES Classic Edition consoles. I felt exactly the same way and that is why I decided to build my own RetroPie system. Being the pro-consumer and pro-gamer that I am, I want to share how you can build your very own and share the amazing games of our past with friends and family.
What Is RetroPie?
Not sure exactly what RetroPie, EmulationStation, RetroArch, and Raspberry Pi are? No worries, I've got you covered and will give a quick rundown of what these names are and what they do for us.
Raspberry Pi - This is the hardware component which includes all the essentials for making our Retro console work.
EmulationStation - This is the "game launcher" and provides a nice interface to select which emulator you want and which game (ROM) to run.
RetroArch - This is the inner workings that actually support the config and running of emulators for EmulationStation.
RetroPie - This is a Linux based distribution that combines all the components above to make a sleek and powerful gaming oriented Operating System (OS).
What Is An Emulator?
We used the word emulator in some of the previous definitions, but we didn't really explain what it is. An emulator is software that uses computer components to act like the original gaming console. Instead of having hardware specifically designed to run Super Nintendo games, we are using software on generic computer hardware to interpret the original game code and hardware interaction.
What Will I Need?
You will need a minimum of seven components to create a RetroPie gaming system:
Raspberry Pi - Amazon Link
microSD Card - Amazon Link
Power Cable - Amazon Link
Keyboard (Optional but suggested: Controller) - Amazon Link
SD Card Reader - Amazon Link
HDMI Display (TV or Monitor)
HDMI Cable - Amazon Link
Our Build
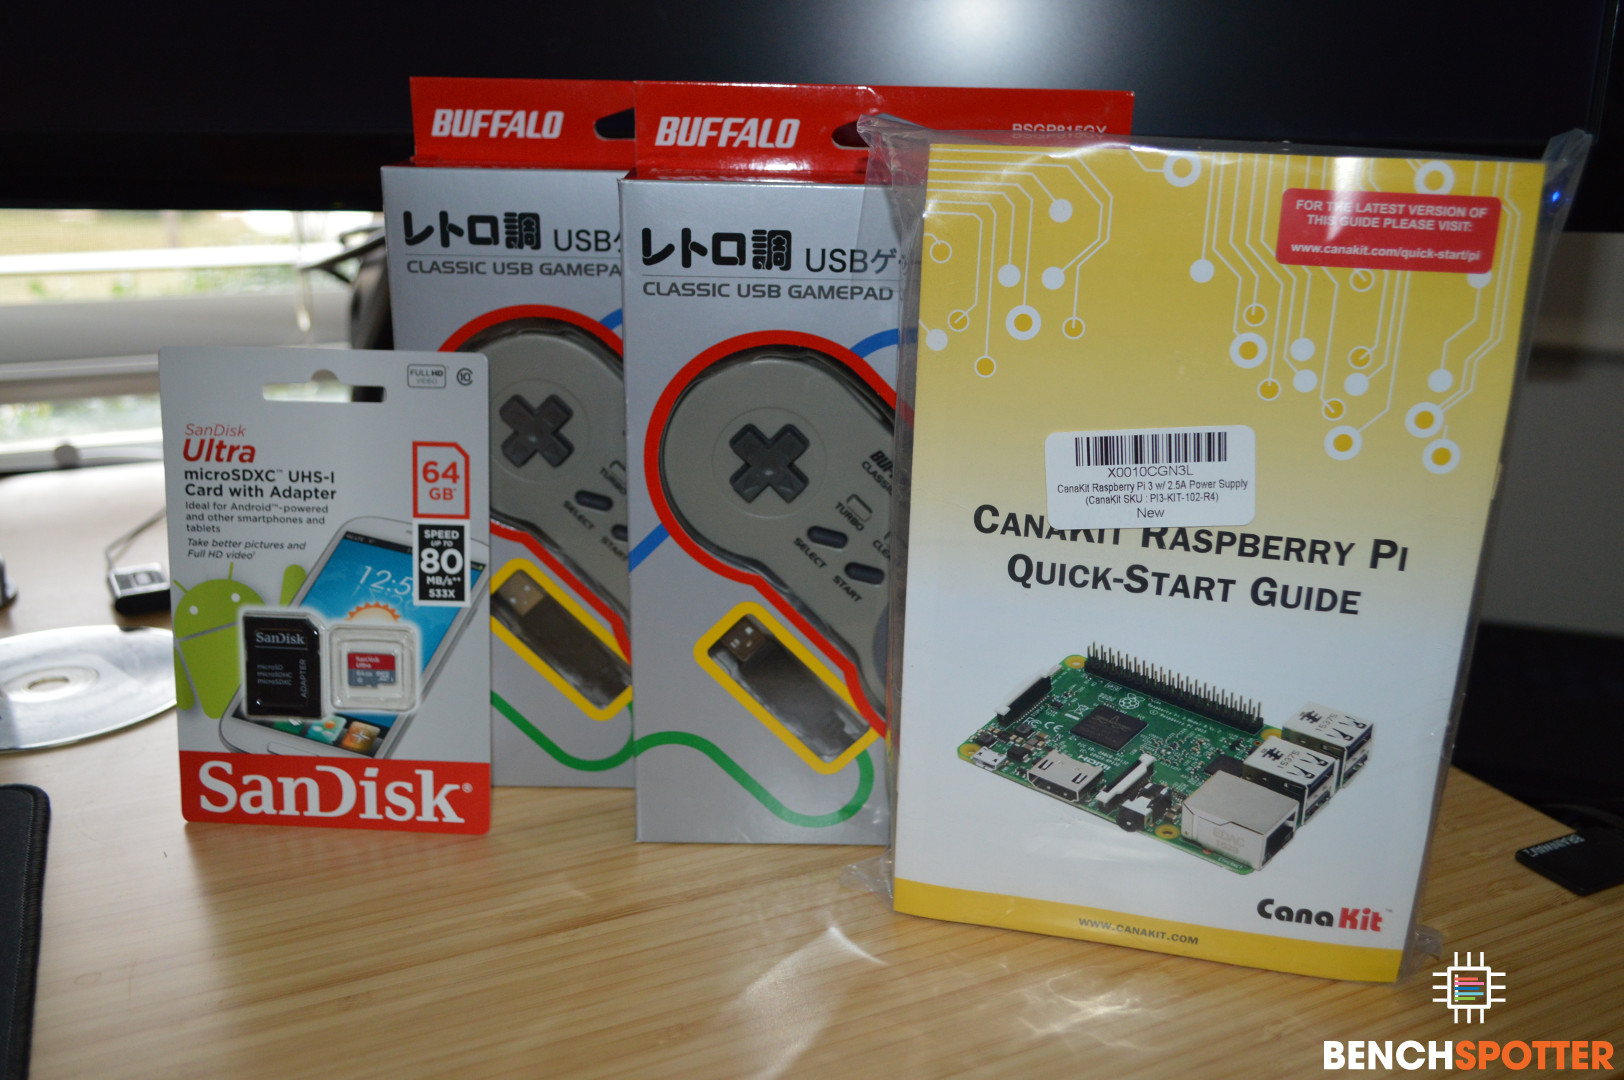
I opted for the CanaKit as it comes with a Raspberry Pi 3, Power Cable, and 2 Heat Sinks for helping dissipate heat. The whole package cost me $49.99 on Amazon. I would also recommend a case as you will be distributing power through the board and we want this thing to last a while.
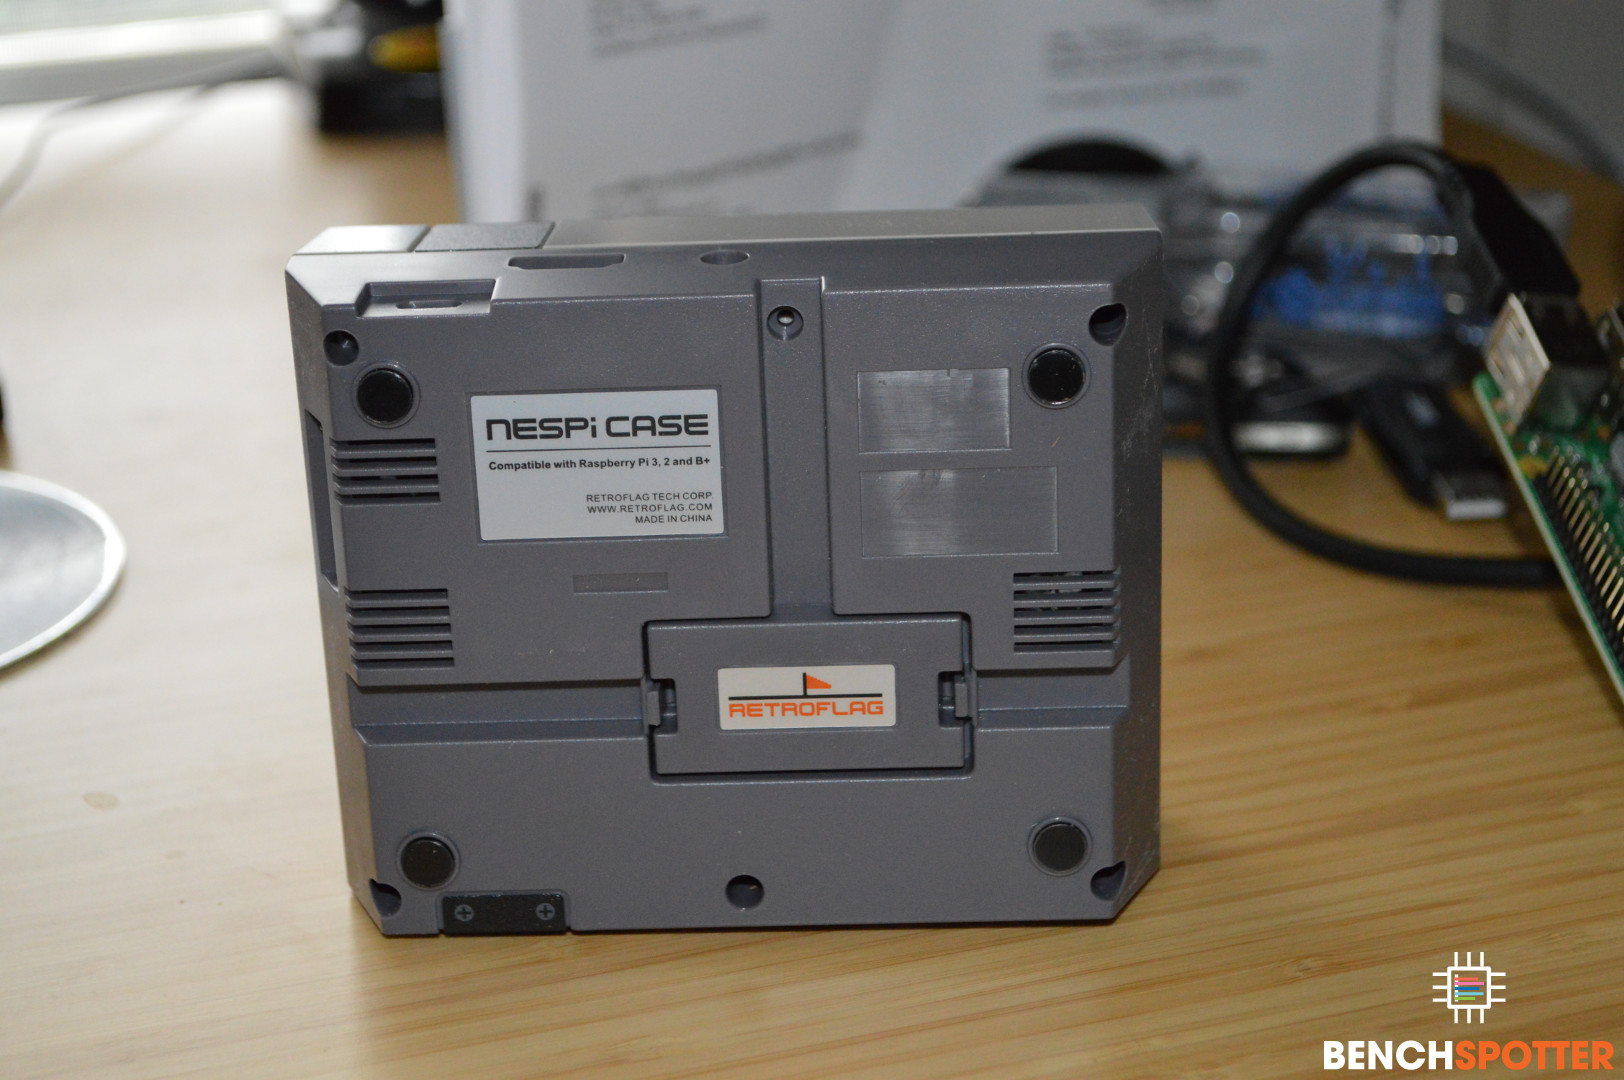
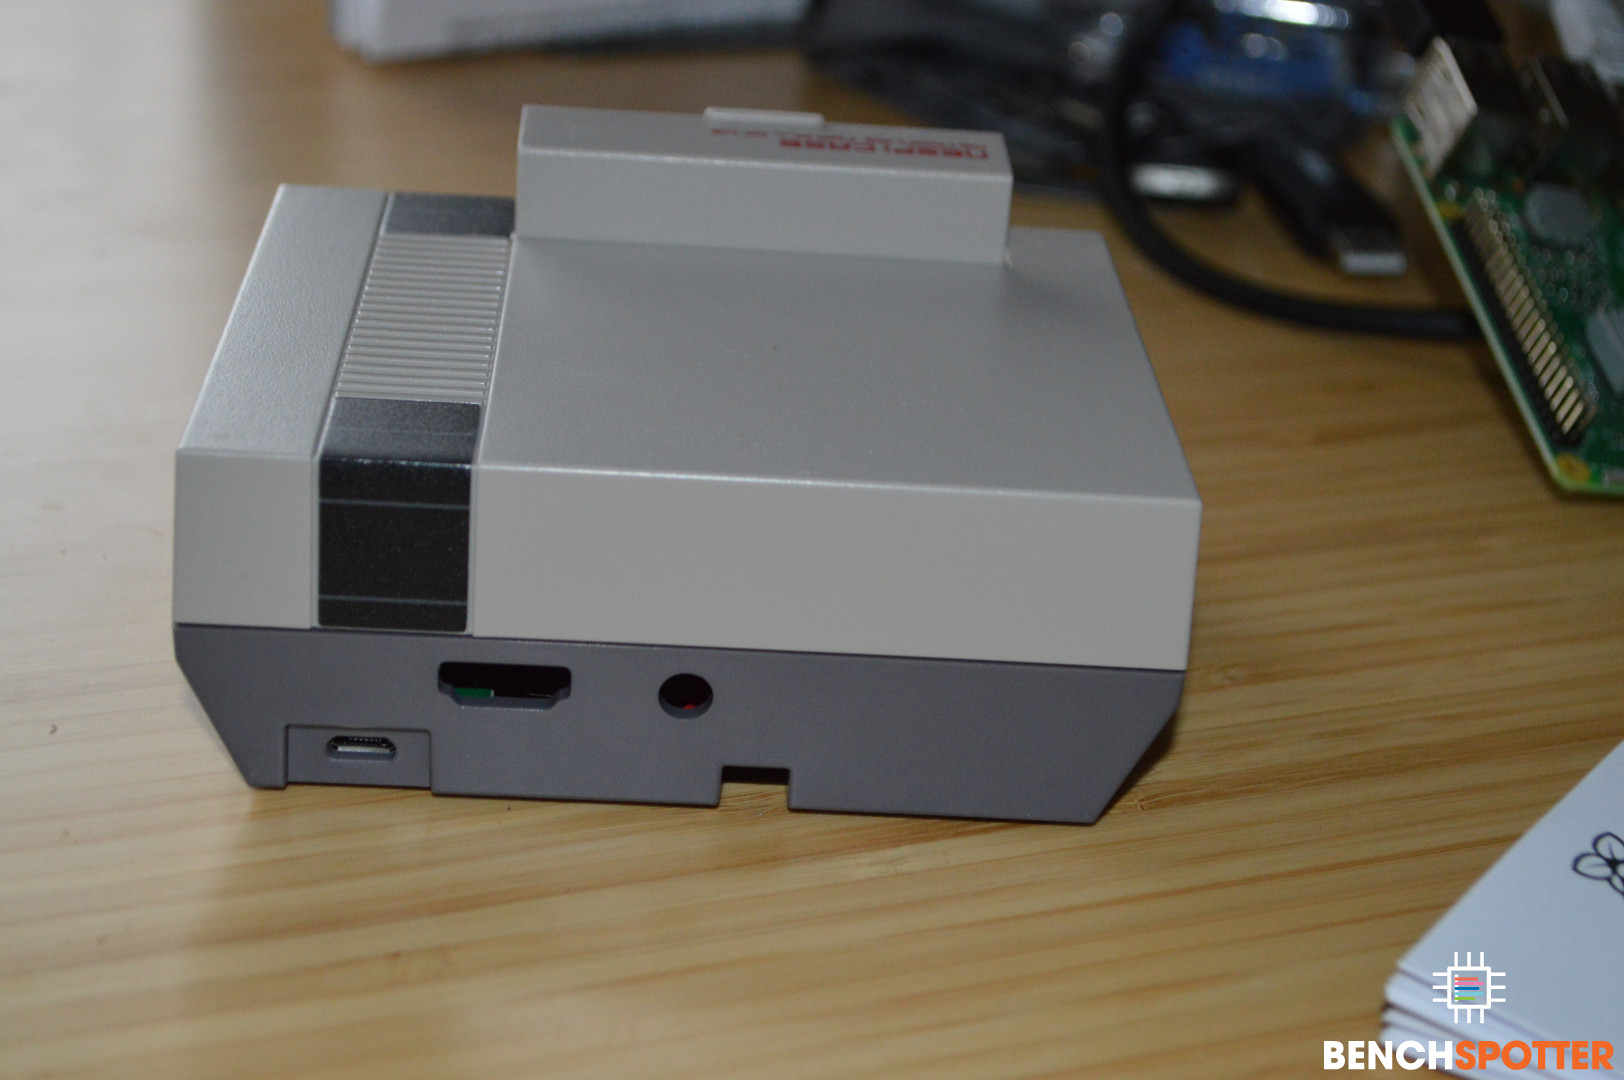
I opted for a classic look and picked up the NESPi case (which resembles the NES, but much smaller). This case cost me around $25 USD, but cheaper generic Raspberry Pi cases can be had for around $5 USD. It's also worth noting that most Raspberry Pi systems are either on/off by plugging in the power. The NESPi case comes with functional power and reset buttons to make our life easier and provide the excitement of button pushing!
Here are some pictures of the NESPi case next to my standard 5" pocket knife. It's tiny, but yet very functional!


Now that the boring explanation and requirements are done, let's jump into the hardware and build process for making a RetroPie!
