RetroPie: Building Your Own Retro Gaming System: Page 2 of 4

RetroPie: Building Your Own Retro Gaming System: Page 2 of 4
Written by John Ham Published Friday, June 8, 2018 - 14:05
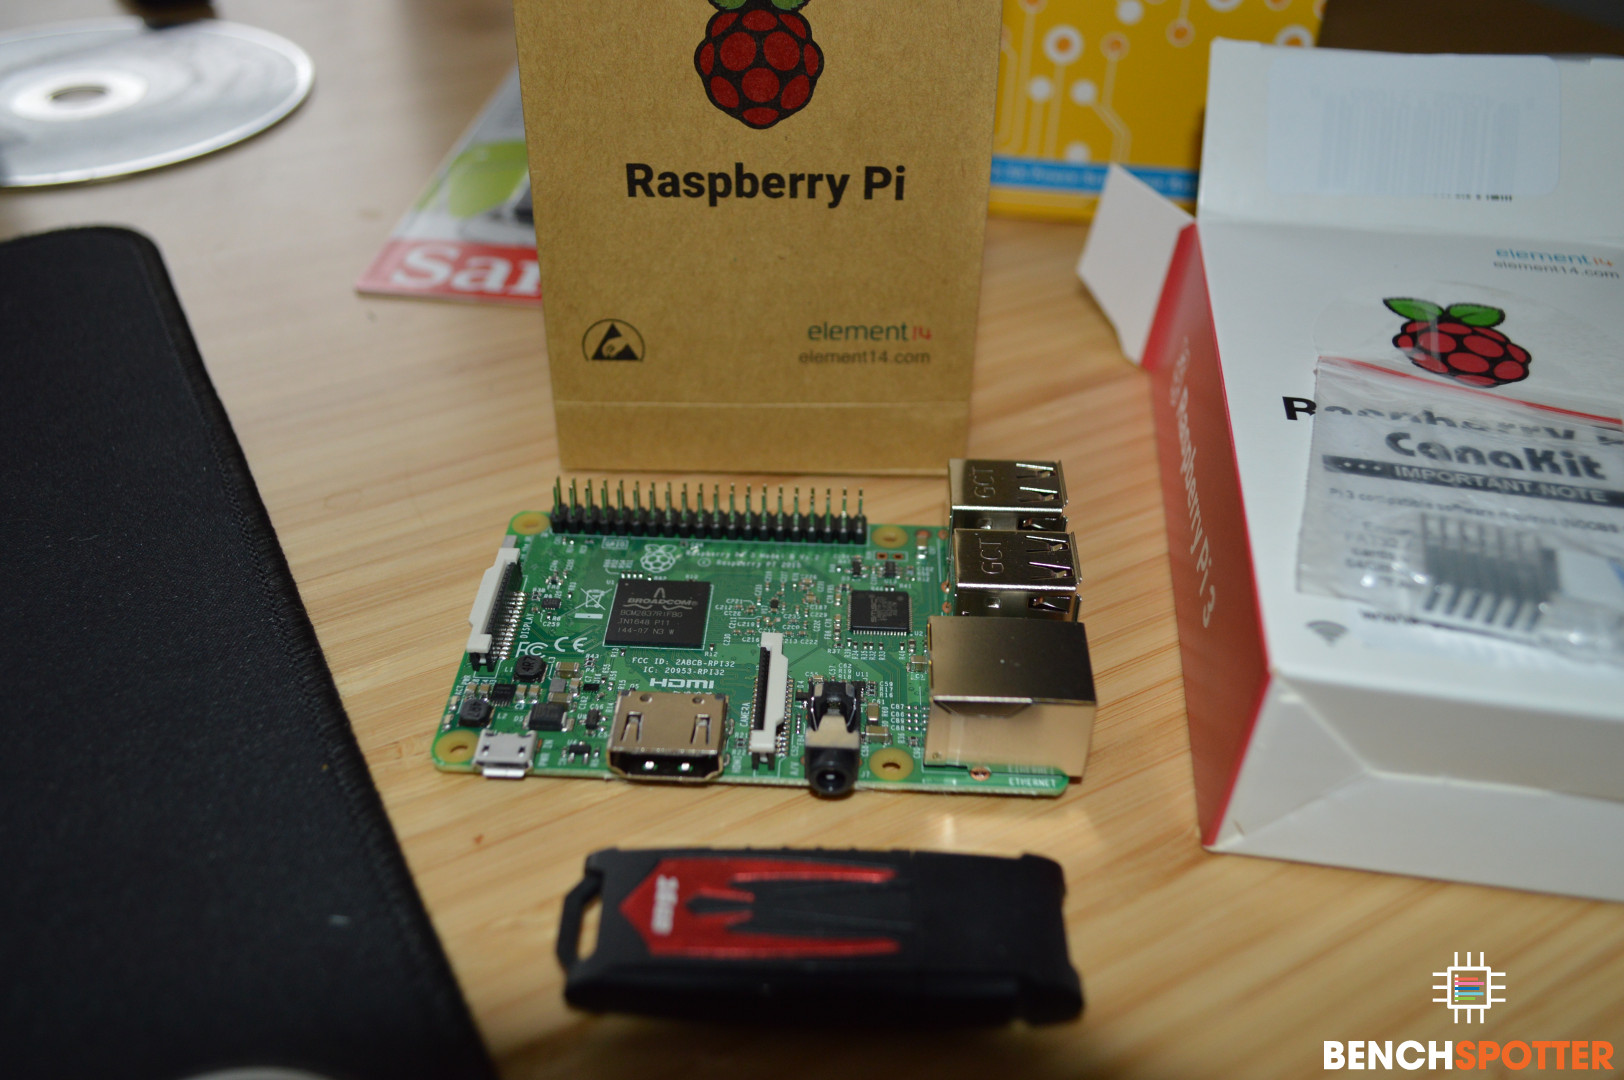
About Raspberry Pi 3
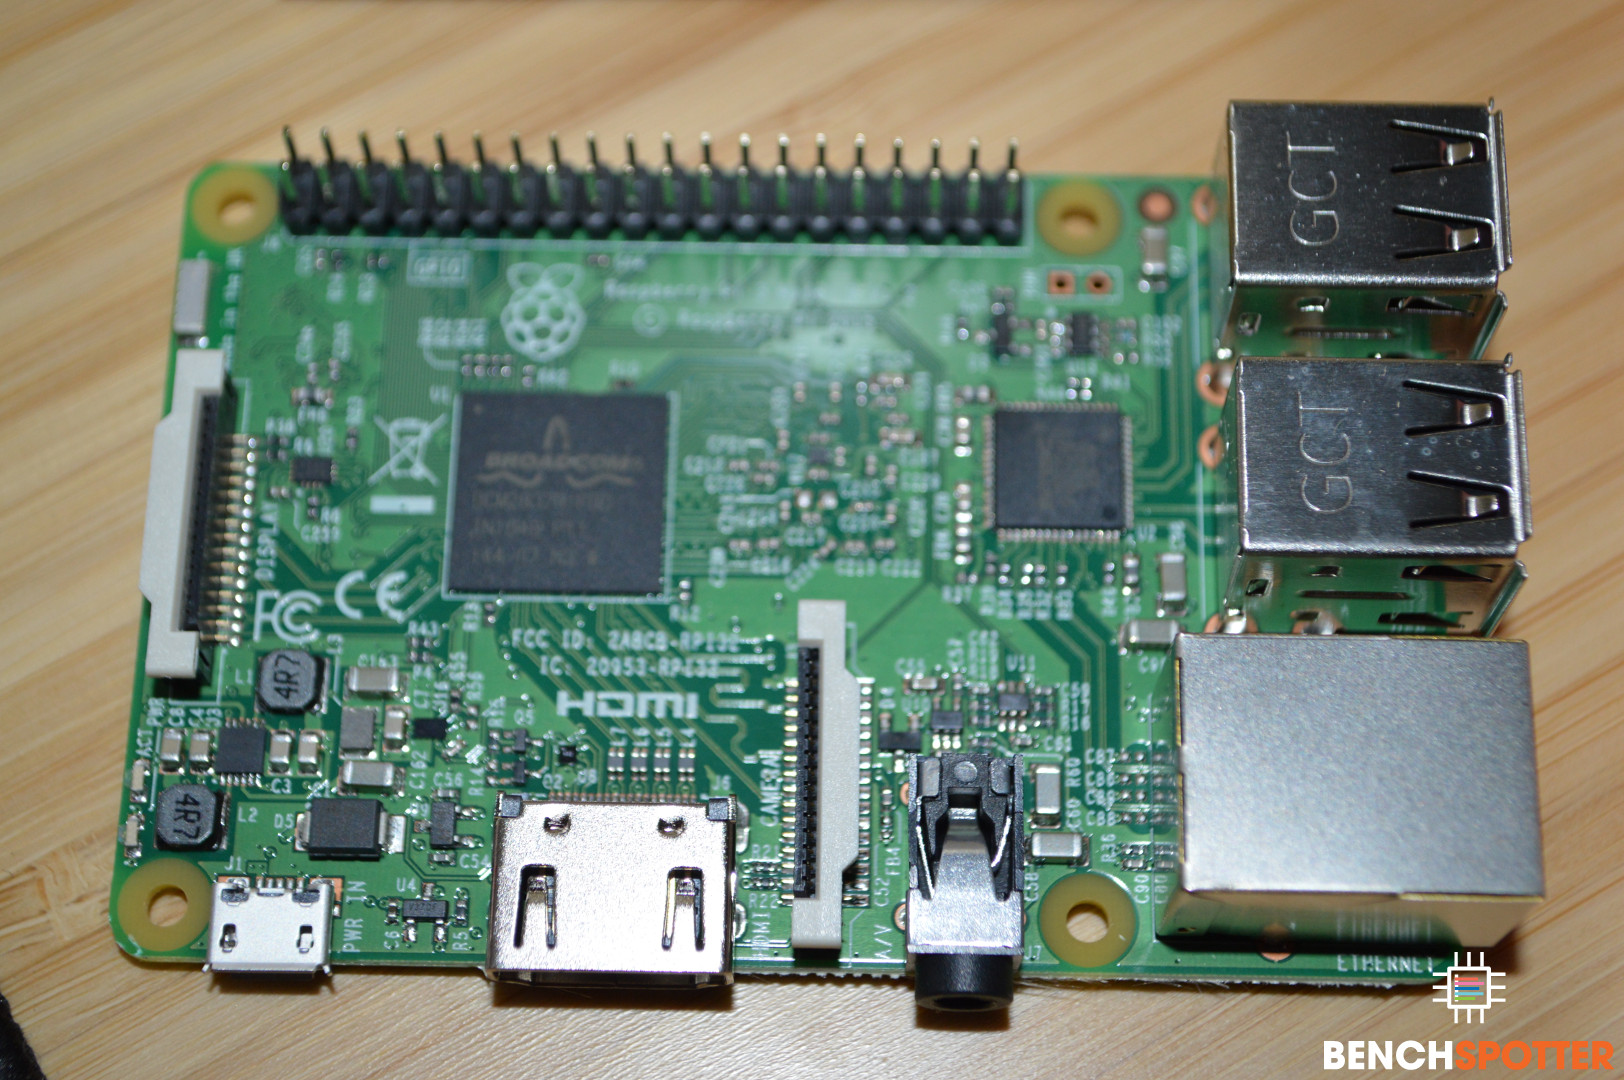
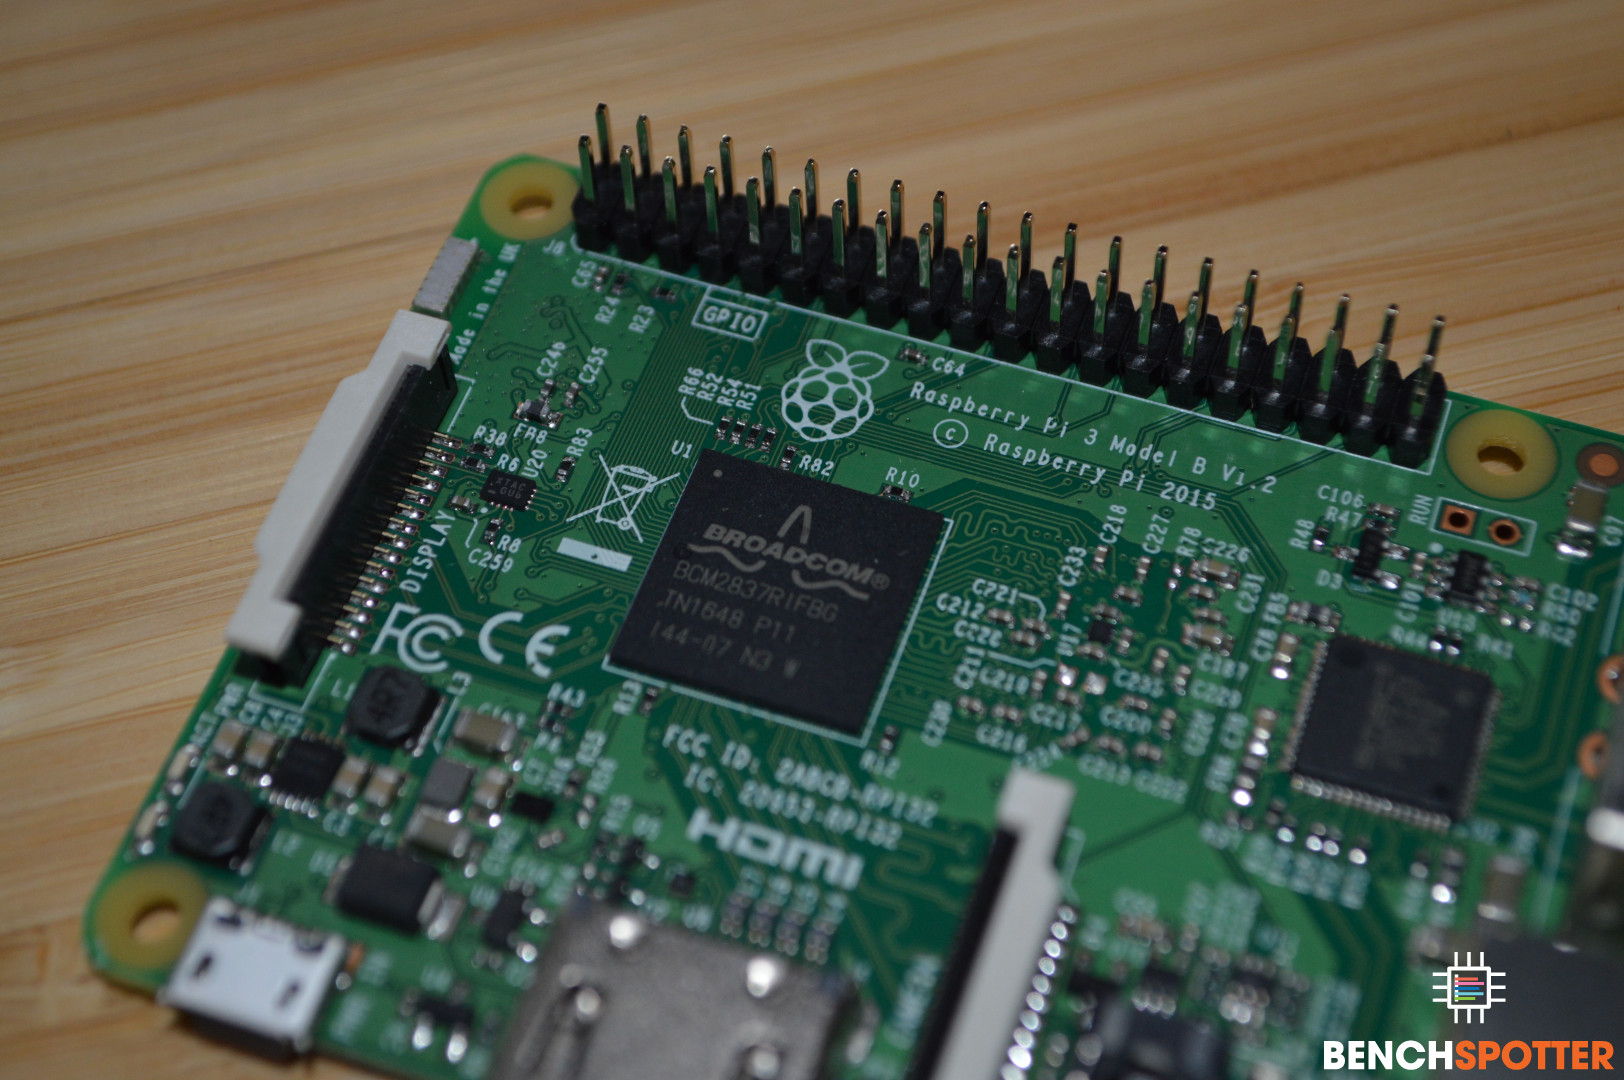
I opted for the Raspberry Pi 3 so I could have built-in Wi-Fi and Bluetooth capabilities without taking USB ports. The Raspberry Pi 3 also comes with a 300MHz higher clocked CPU than Raspberry Pi 2 and a newer architecture (Cortex-A53). Let's take a closer look at the hardware Raspberry Pi 3 comes with.
CPU - Cortex-A53 @ 1.2GHz
Video - VideoCore IV @ 400MHz
1GB DDR2 Memory @ 900MHz
Built-in 802.11 Wi-Fi & Bluetooth 4.1
4xUSB 2.0
1x10/100Mbps LAN
1xHDMI Port
1x3.5mm Audio Jack
1xMicro SD Card Slot
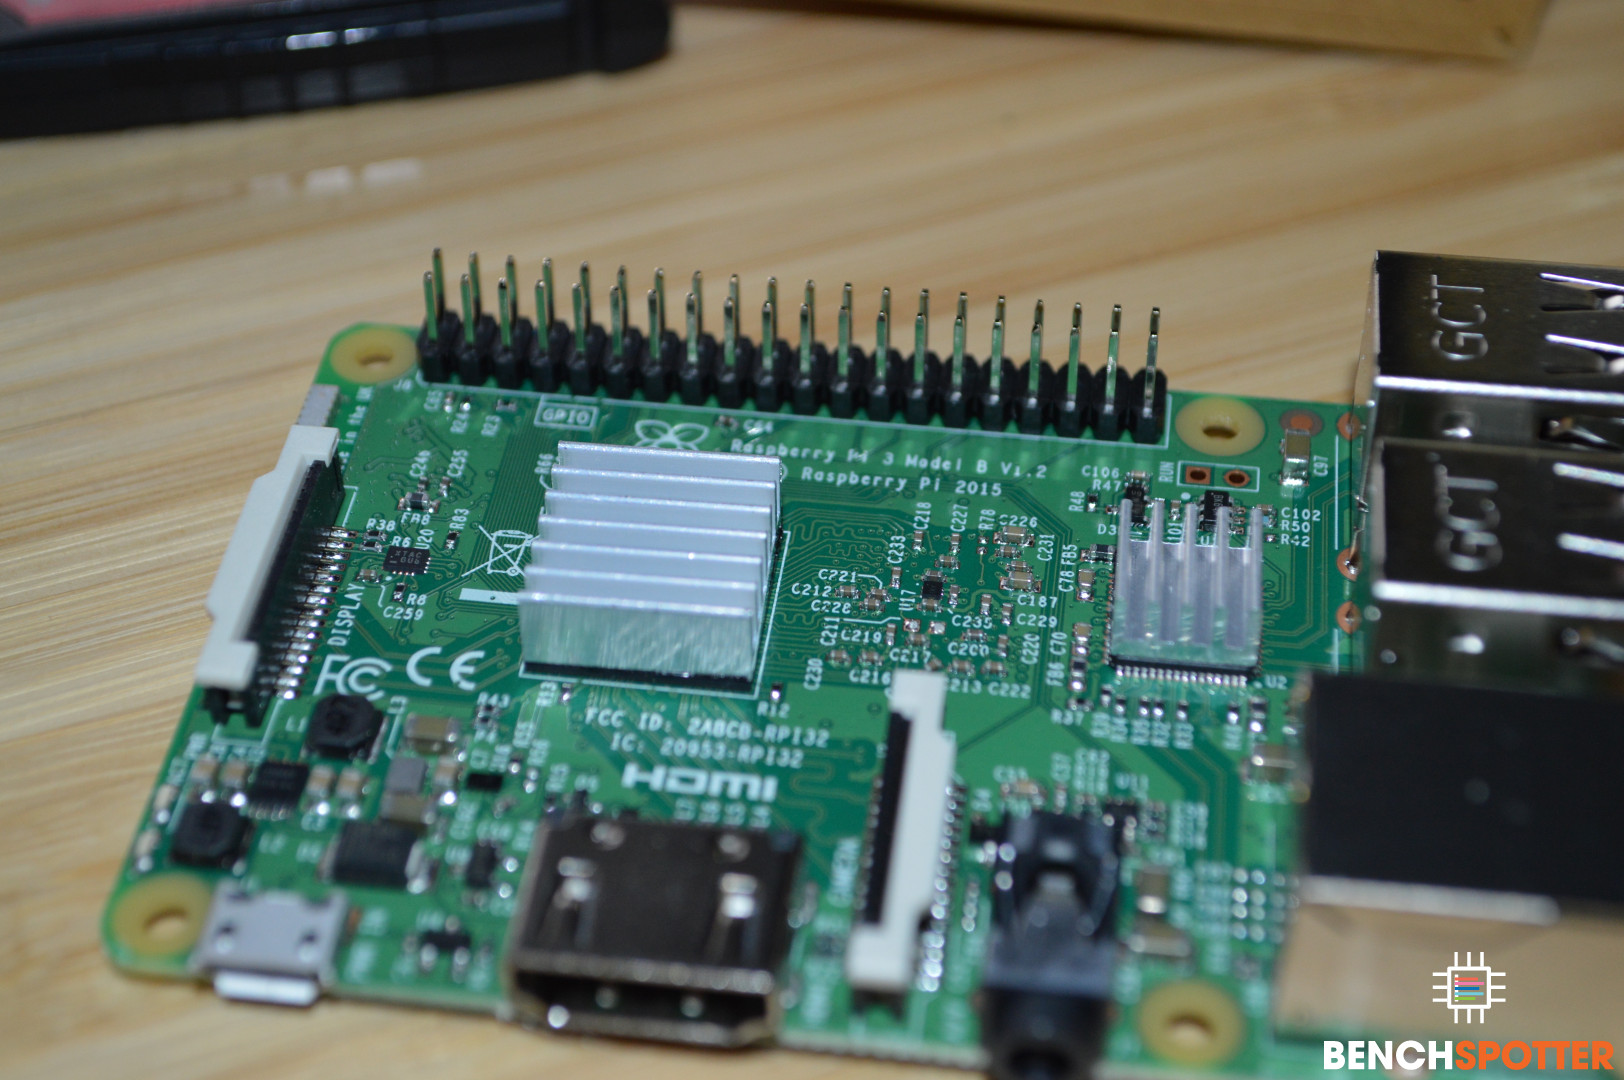
Cooling It
I knew this was going to be an enclosed case and would have minimal airflow to keep things cool. Luckily with the CanaKit, it comes with two cooling heat sinks to passively cool the CPU and Video chip.
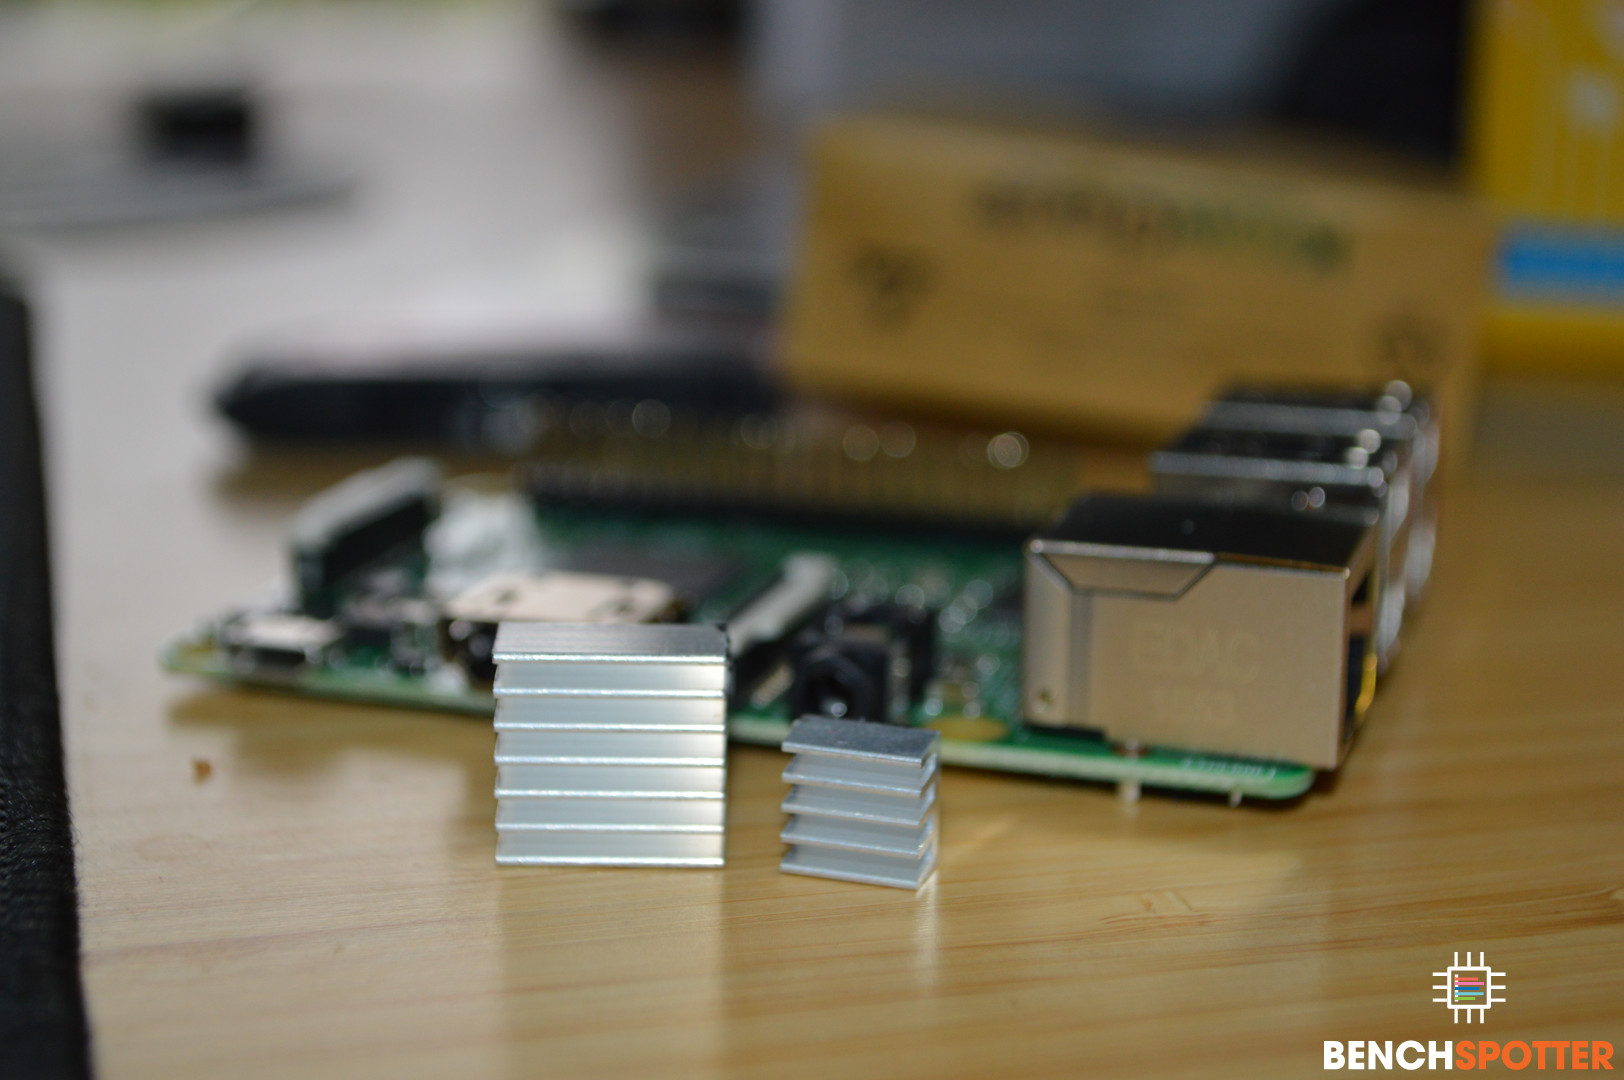
If you have the CanaKit or bought the heat sinks individually, simply peel off the plastic sheet and place directly on the CPU and Video chips like below.
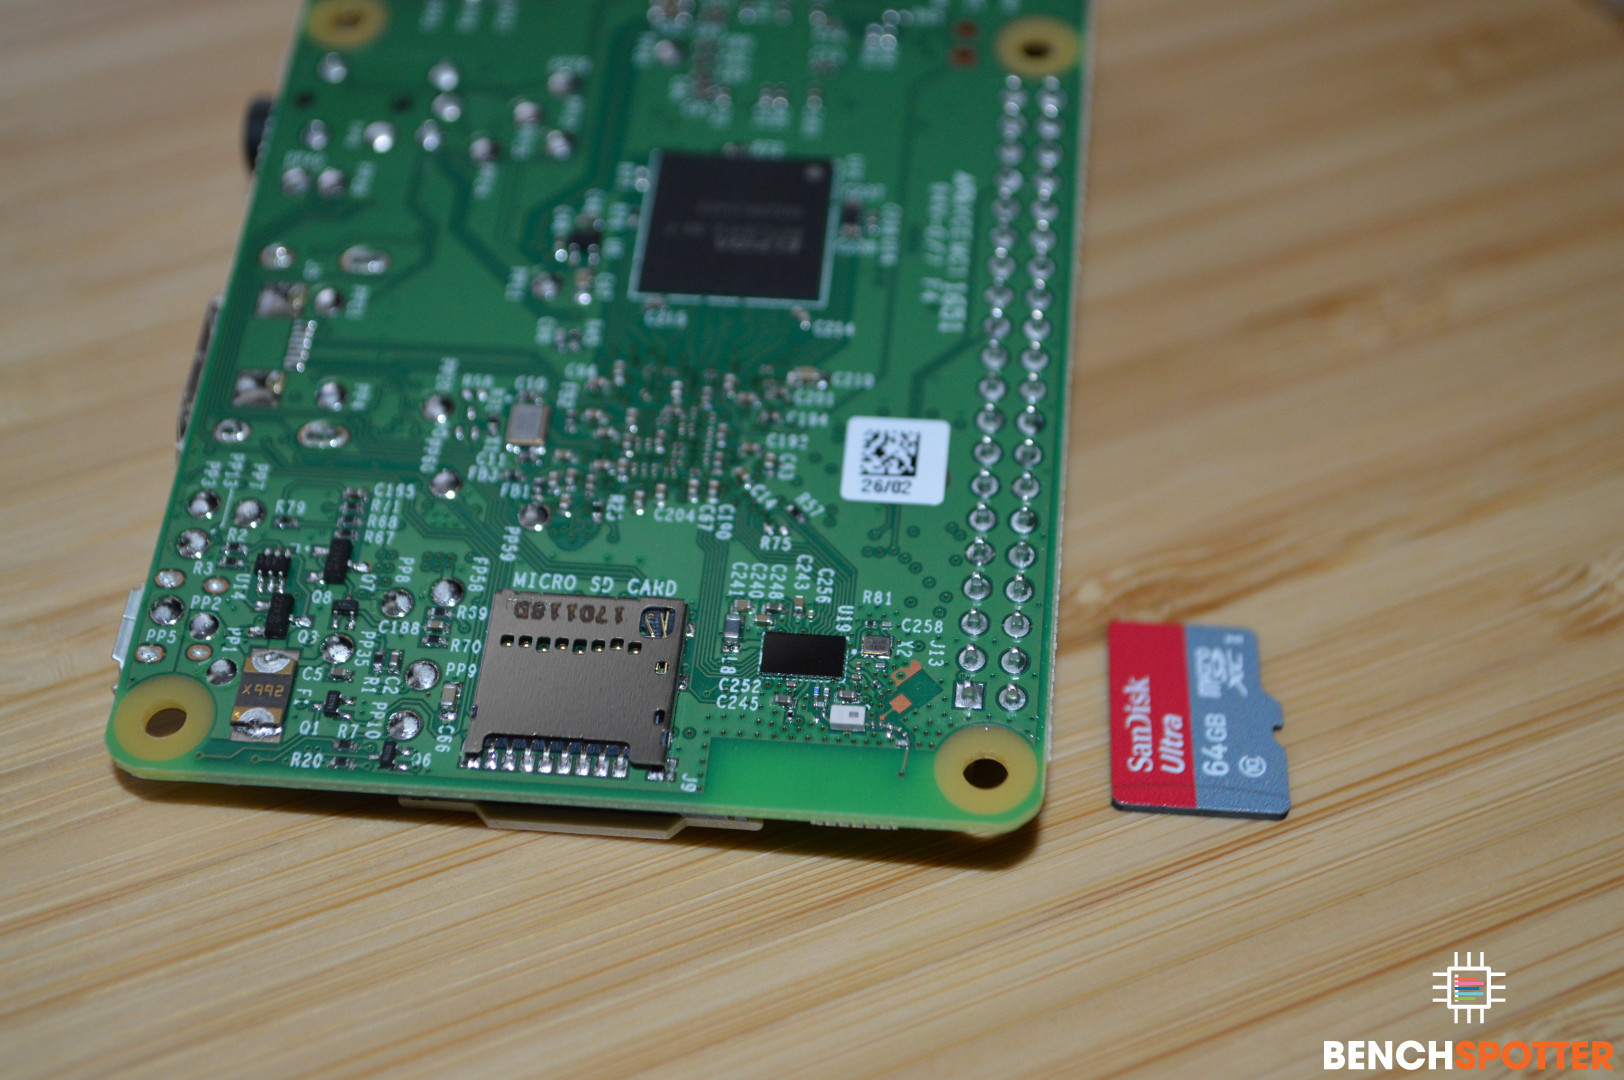
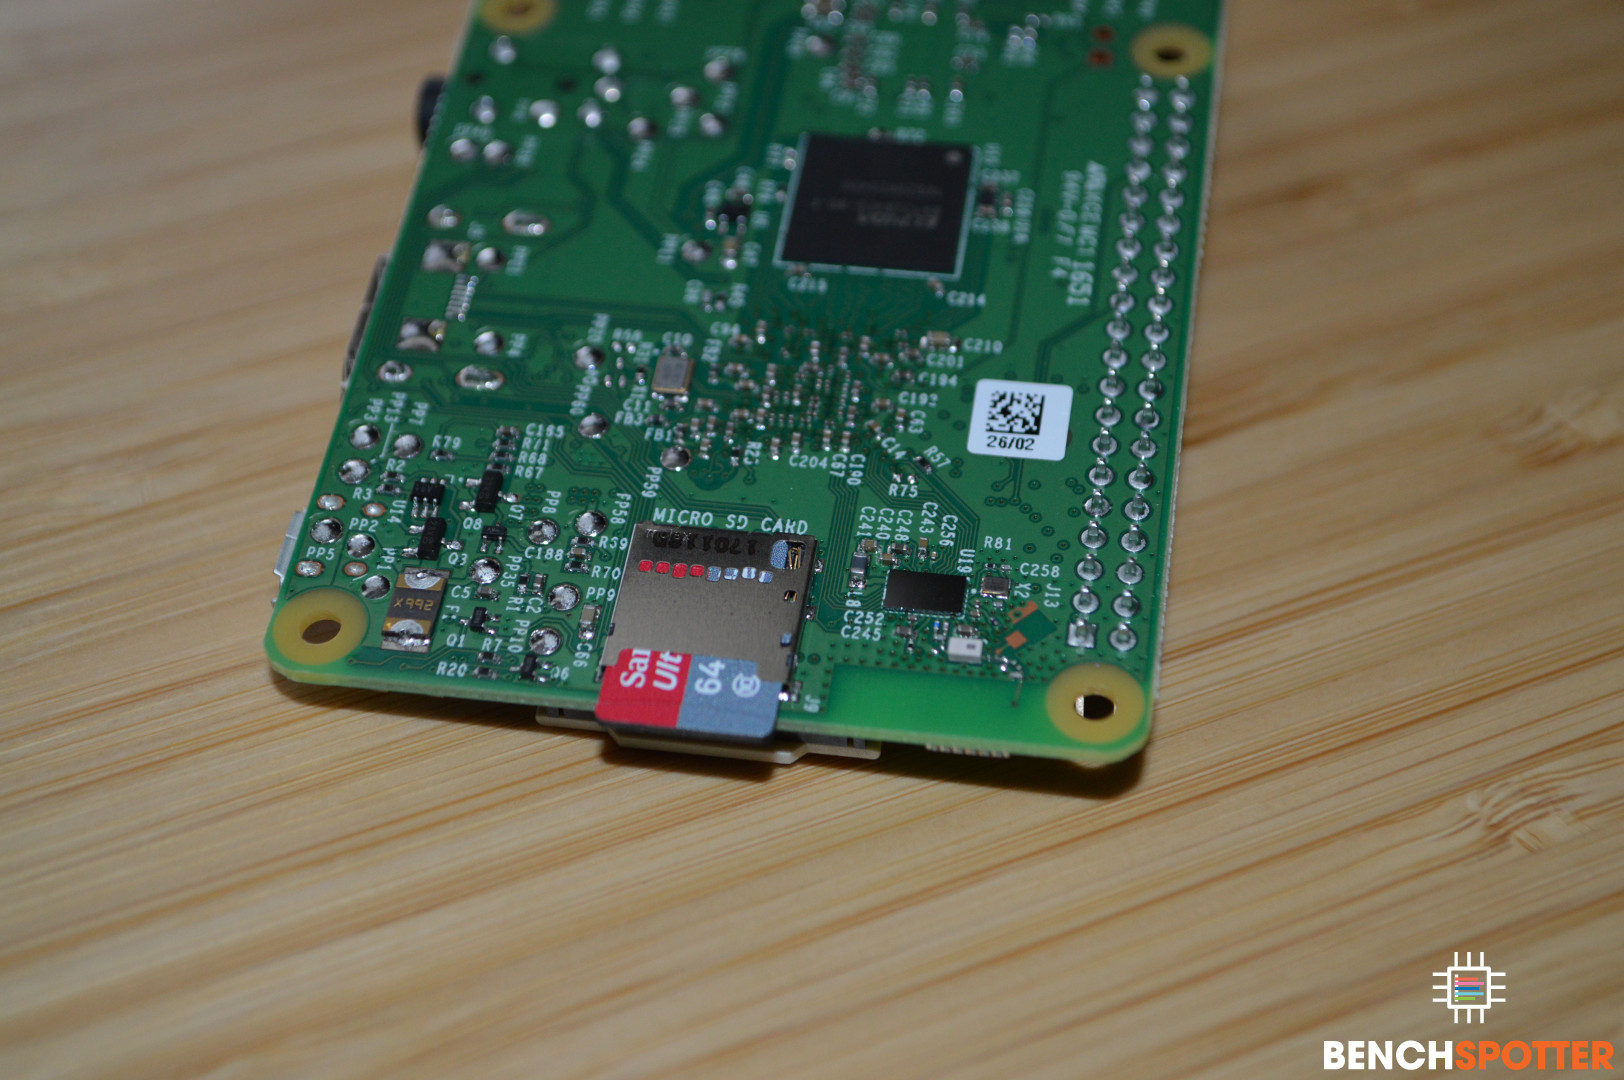
Storage
Next, we need to install the microSD card. The slot for this is actually on the underside of the Raspberry Pi mainboard.
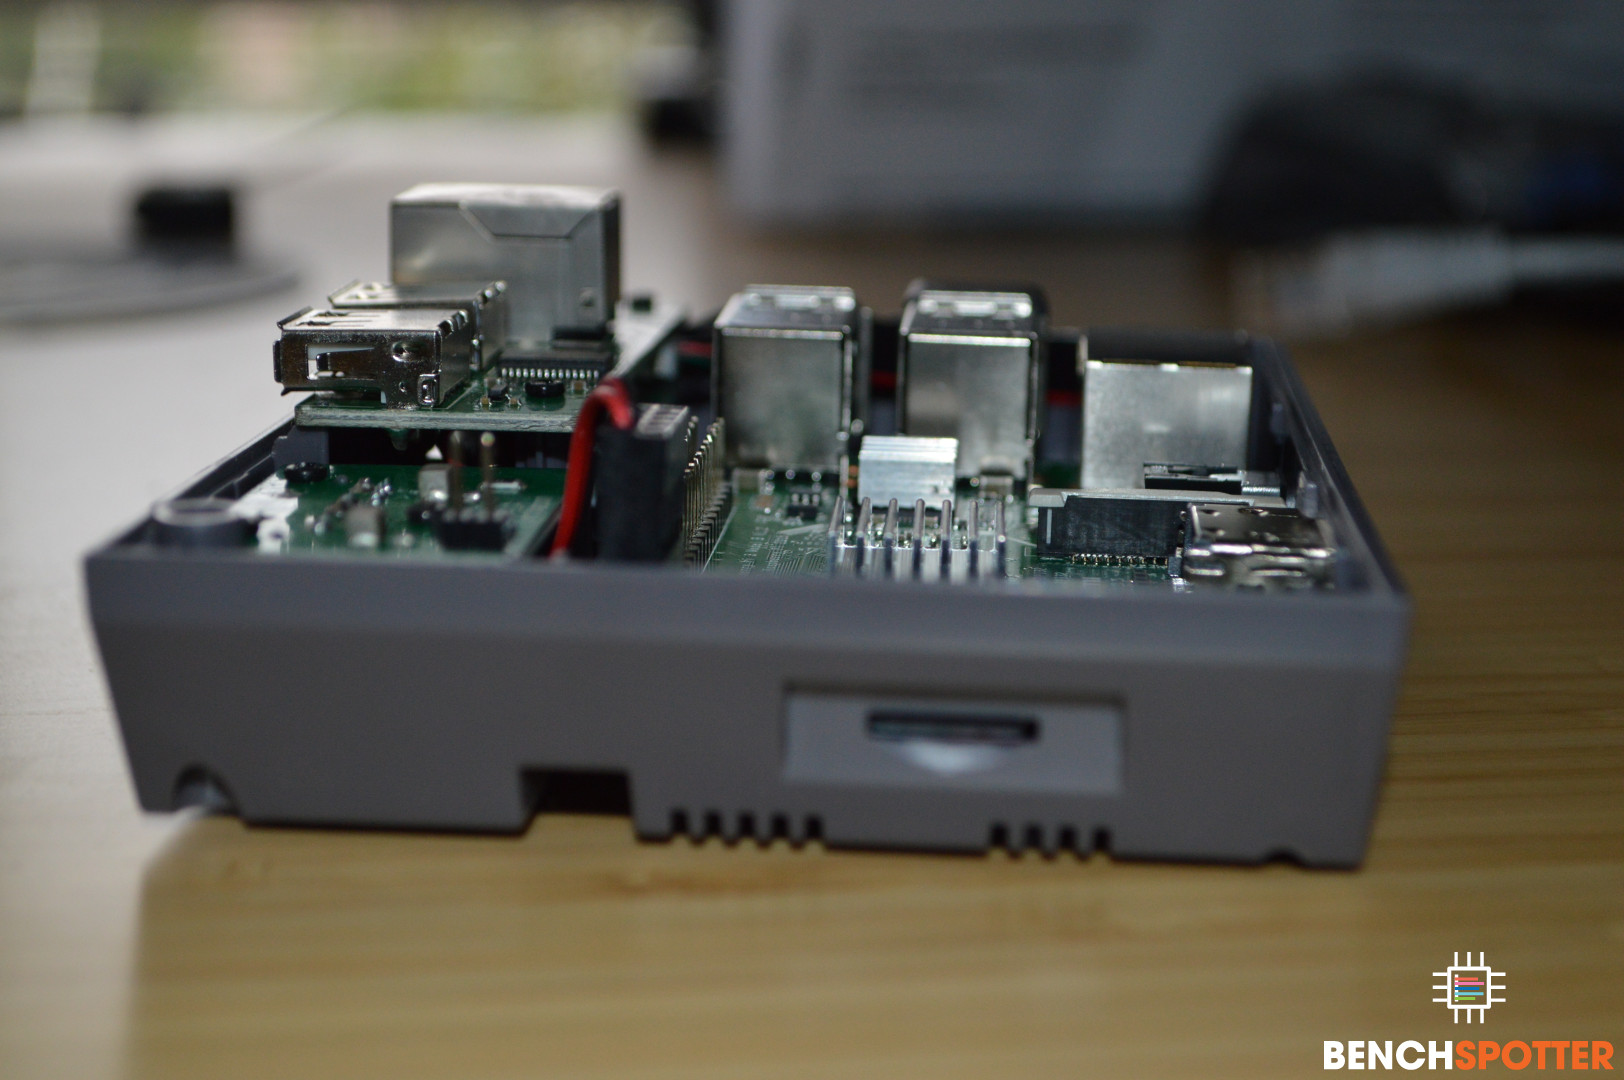
Enclosure
Now it's time to install the Raspberry Pi into our NESPi case. Ensure you plugin the USB and Network cable before screwing down the mainboard. You will also want to connect the power and reset button (notice the series of pins and 5x2 connector).
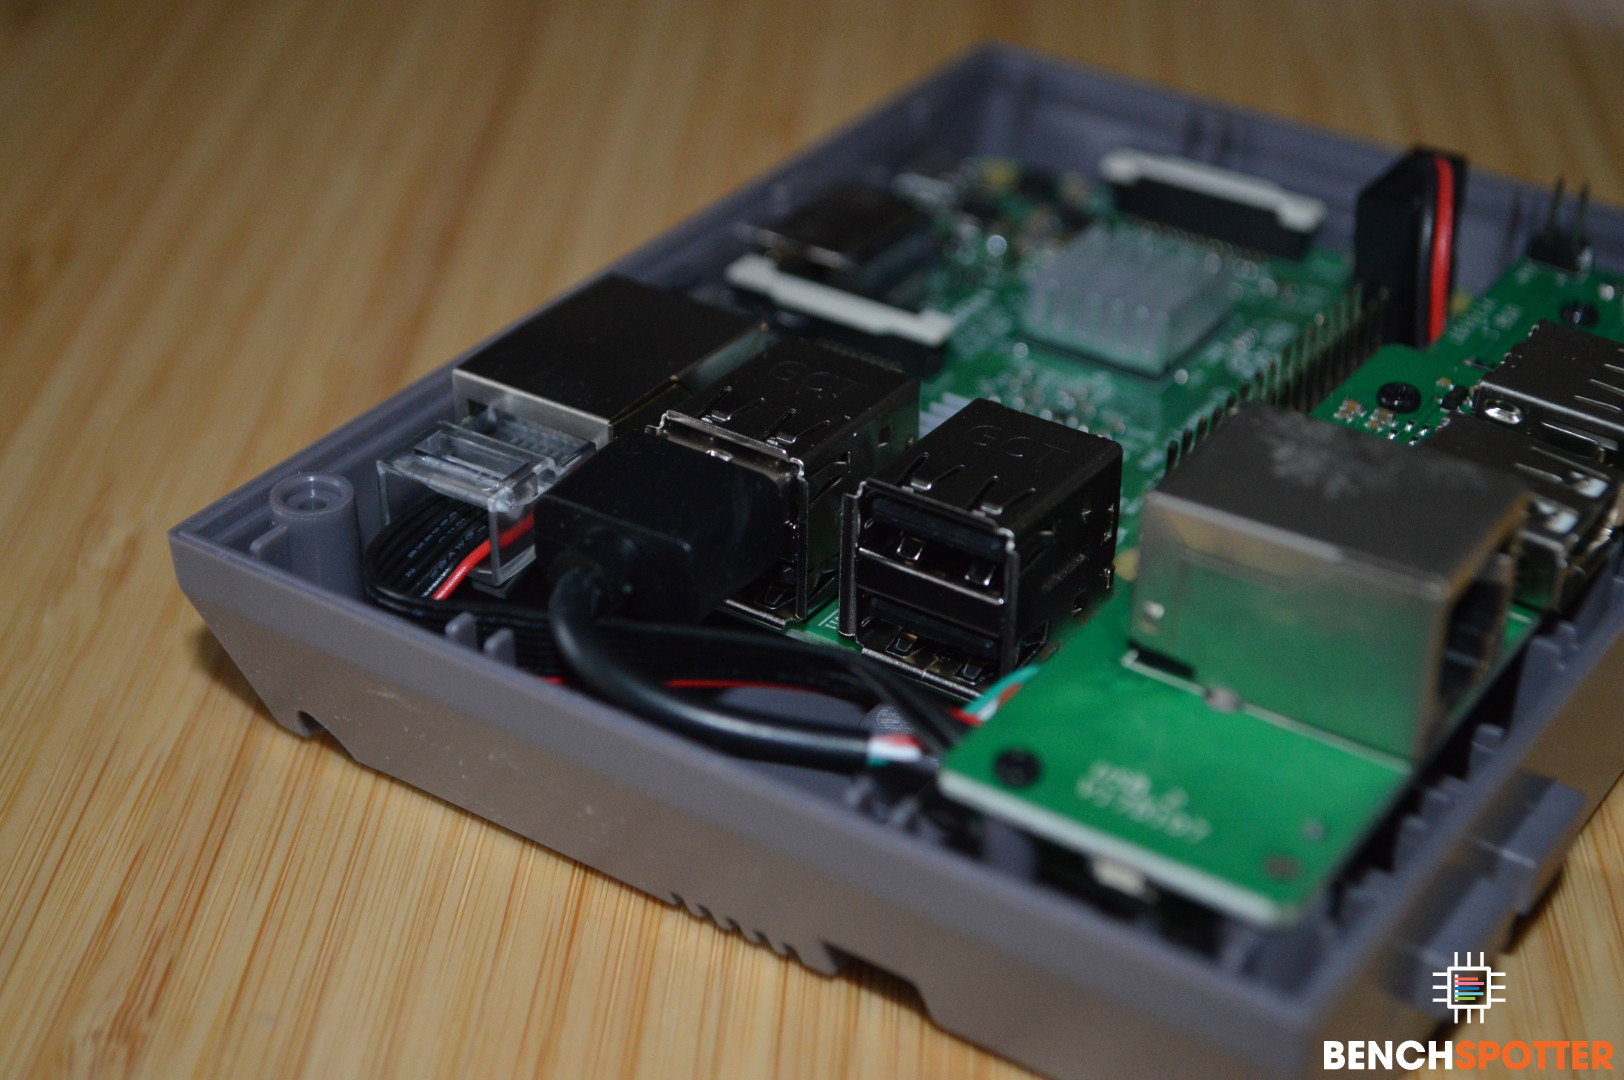

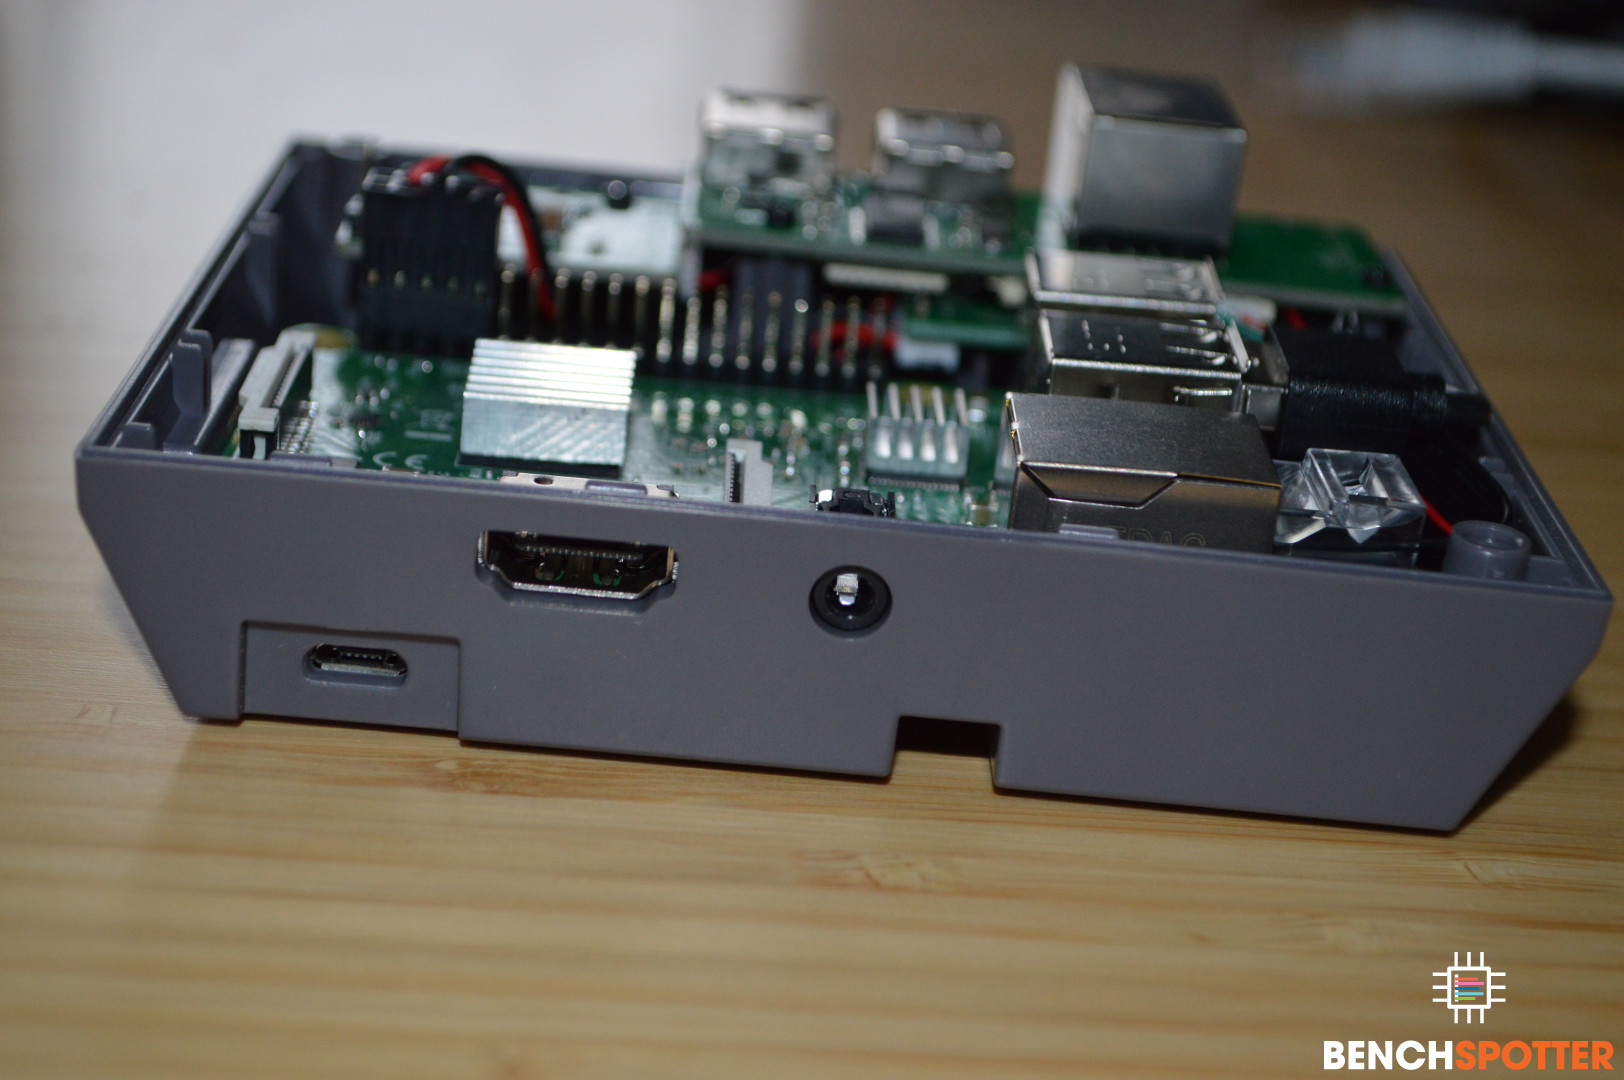
Simply finish screwing the mainboard to the bottom section of the case and finish by fastening the top cover back onto the bottom. This concludes the installation of hardware, now it's time to install RetroPie and configure the new gaming system.
