RetroPie: Building Your Own Retro Gaming System: Page 3 of 4

RetroPie: Building Your Own Retro Gaming System: Page 3 of 4
Written by John Ham Published Friday, June 8, 2018 - 14:05
Prepare Storage
Now that we have our hardware ready, we need to prepare the microSD card for RetroPie. I personally like using a program called Rufus (downloaded here). Download the installation or portable version for later use.
Next, we need to download the RetroPie distribution (download here) and format our microSD card with Rufus. Take note on the download page, it provides a version for each Raspberry Pi version. In our case, we want the Raspberry Pi 2/3 download.
Run the Rufus application we downloaded earlier and insert the microSD card (hopefully you already have a card reader or USB adapter). Rufus should automatically detect removable media and select it by default for "Device". Verify the correct drive, size, and letter have been selected before moving forward. WARNING: You will lose anything on the device selected once Rufus starts.
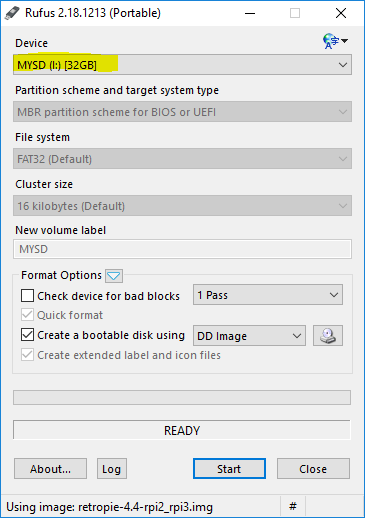
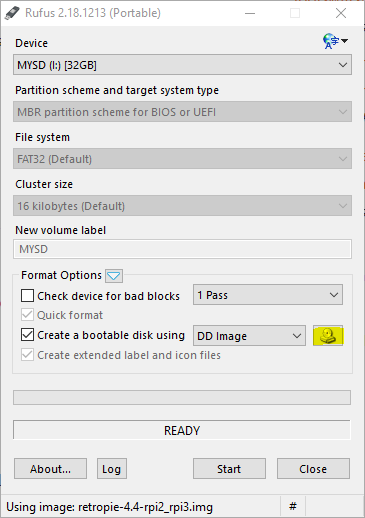
Once you have confirmed the correct device, click the CD-ROM button next to "Create a bootable disk using" checkbox.
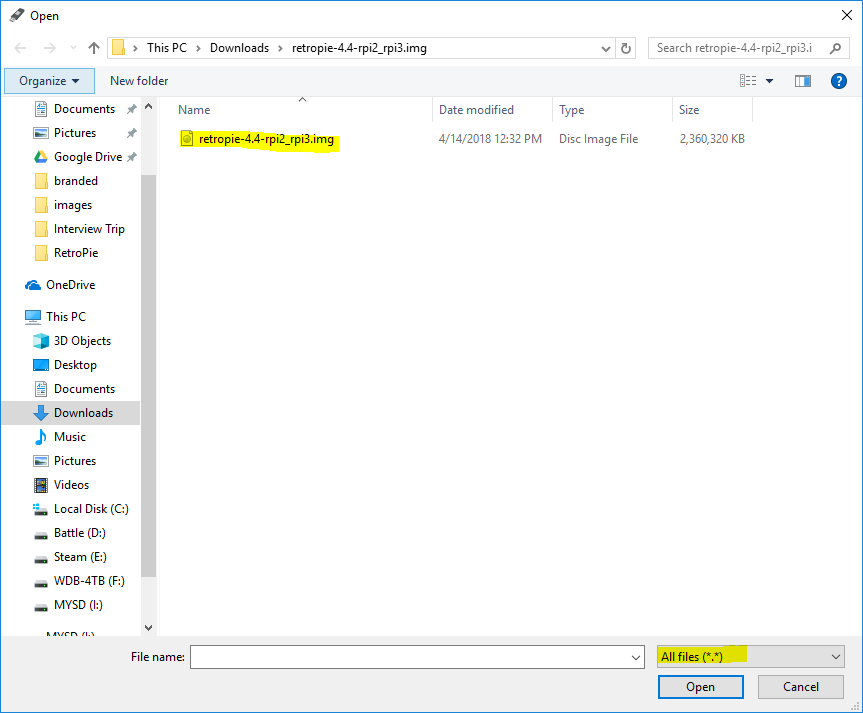
Locate the extracted RetroPie image file we downloaded earlier and select it. Note: You will need to change the filter dropdown to "All Files"
Now that we have the RetroPie image selected and confirmed the correct device has been selected, we can click "Start" to format and install the RetroPie Operating System (OS). If Rufus completes successfully, we are ready to install the microSD card again and power on the Raspberry Pi device.
Configure Controller
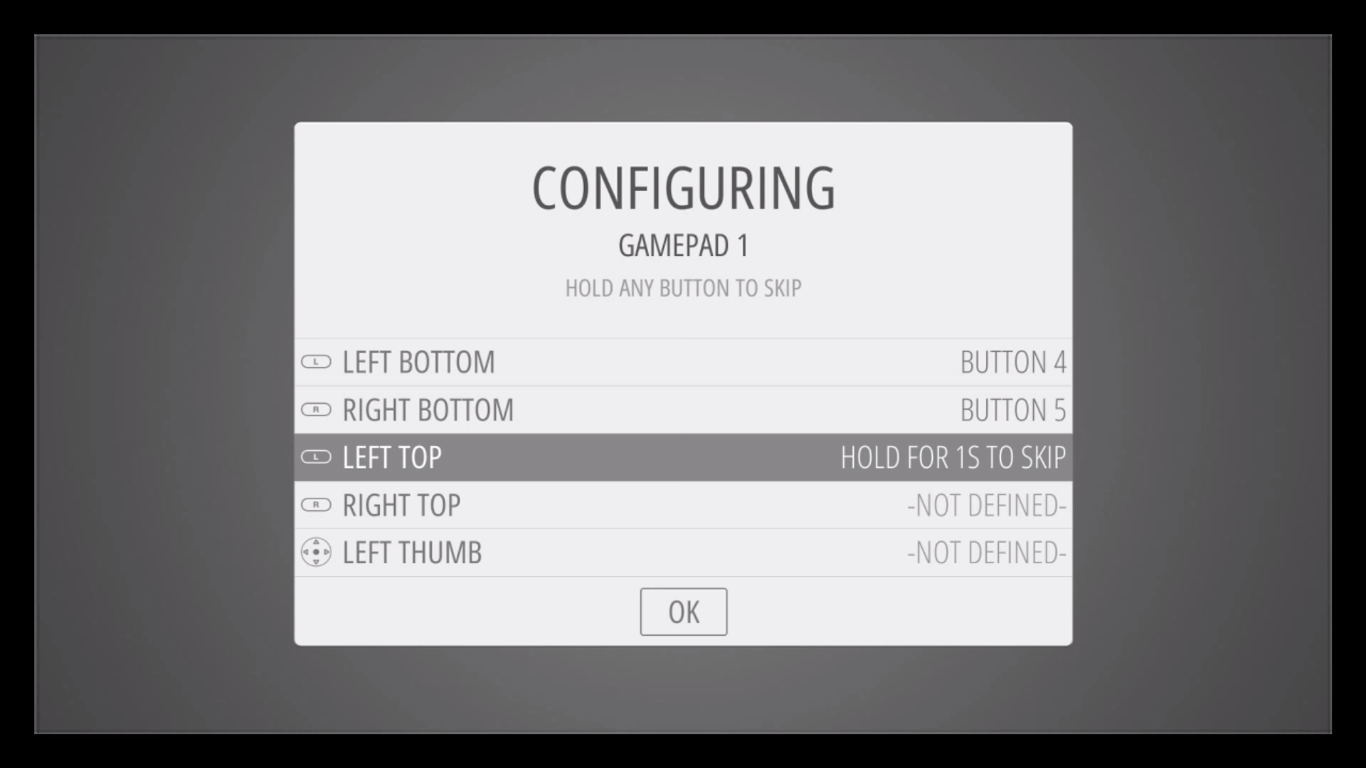
Upon first boot, ensure you have the controller or keyboard connected. EmulationStation will ask you to configure input mappings (don't worry, you can reset or change later if you screw up).
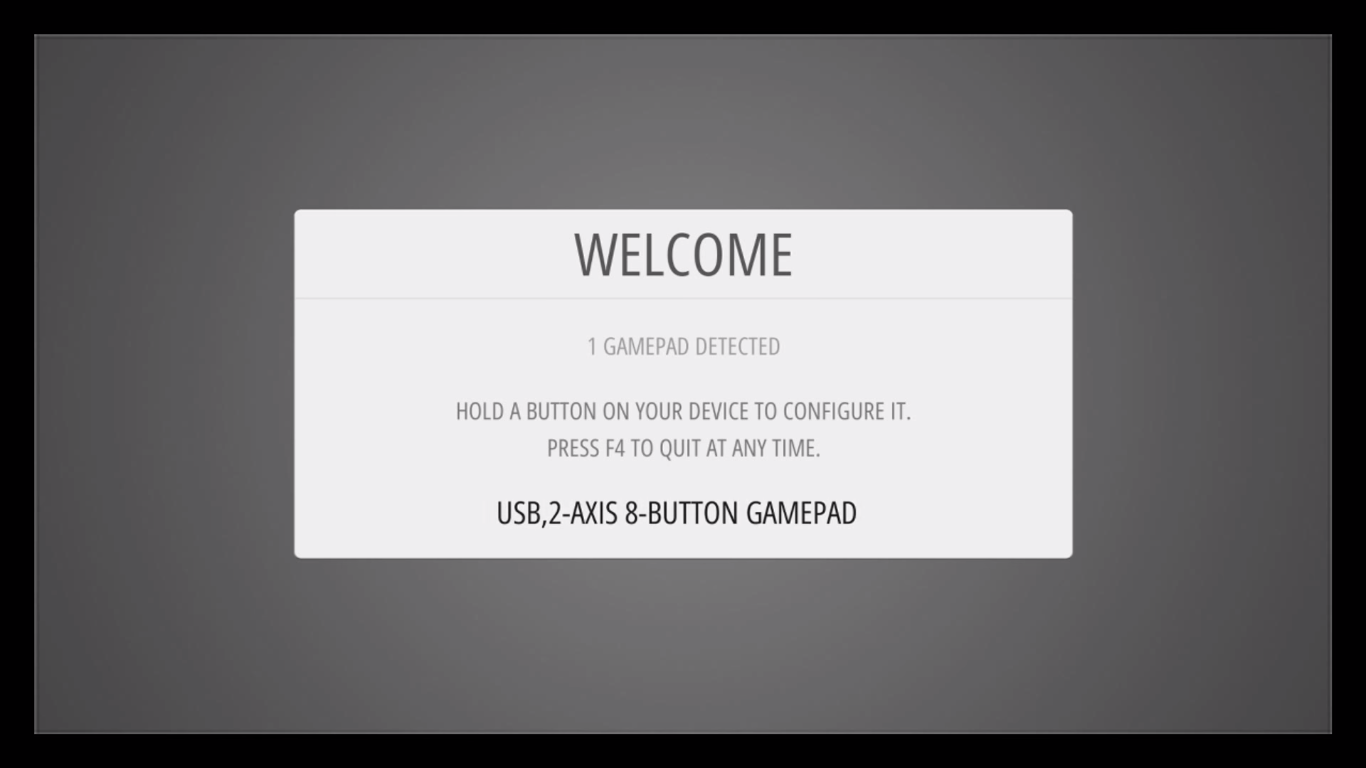
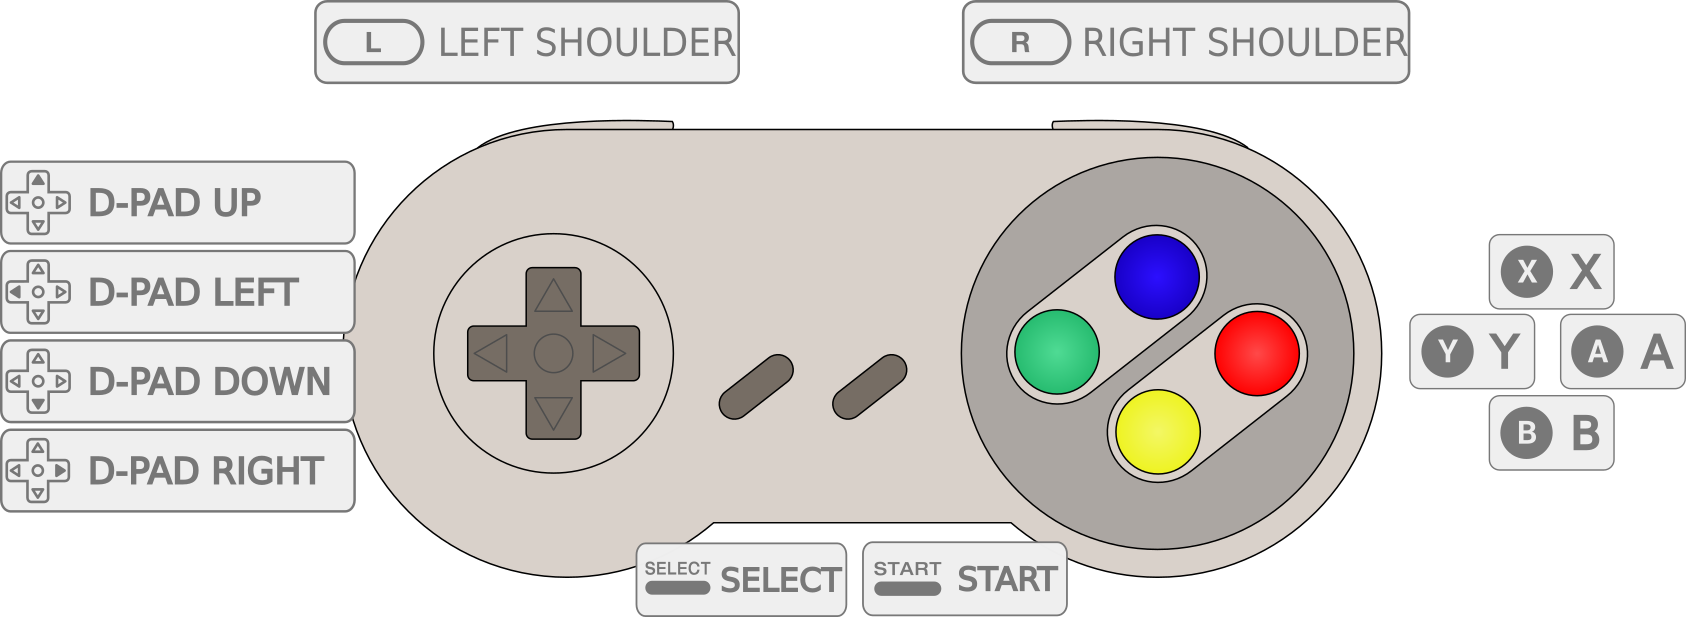
Here is an example of an SNES controller and associated buttons.
Configure Wi-Fi
Let's configure our Wi-Fi next. Access the RetroPie Settings menu as it should be the only option available by default. Go down to WIFI menu item and hit button "A".

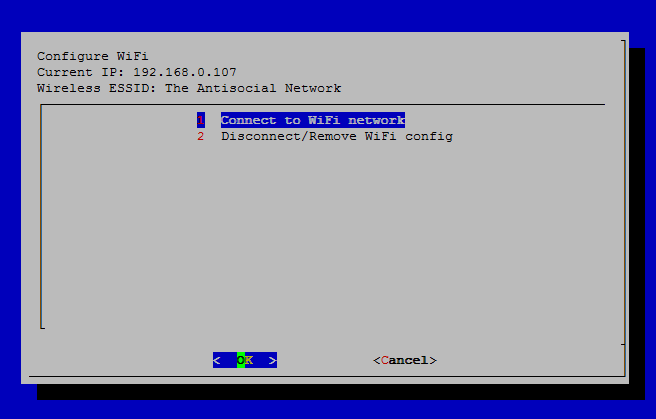
Select option 1 "Connect to WiFi network".
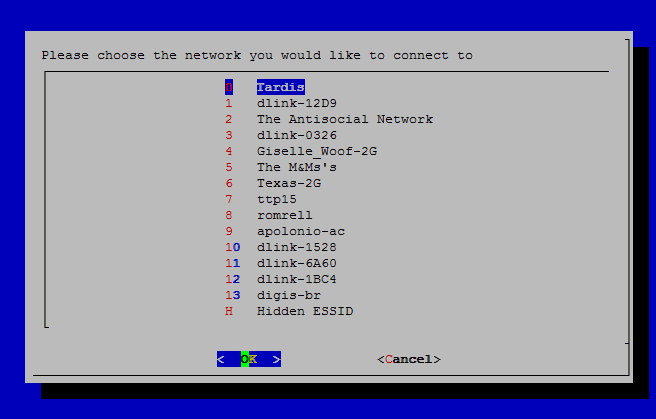
Choose your SSID from the list.
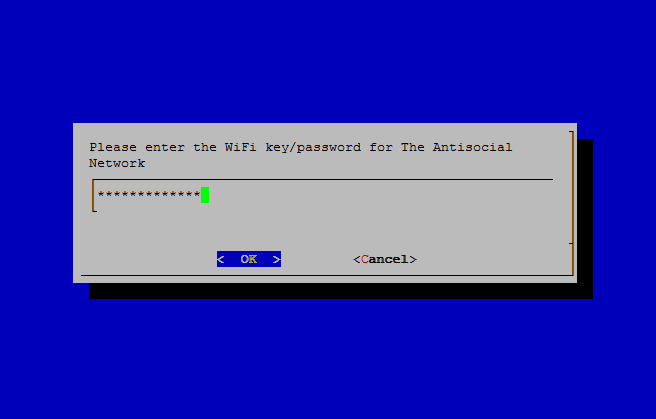
Type your Wi-Fi password (keyboard required).
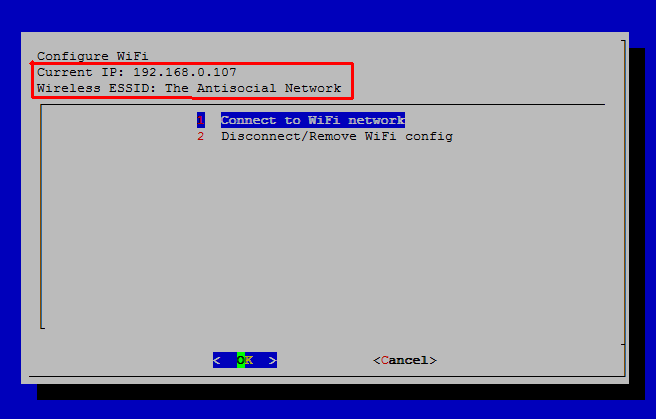
Verify that you have an IP address being displayed.
Transfer ROMs
Latestly, we will need to make some ROMs available to emulate and play games. The easiest method would be USB drive. Follow the instructions below to perform a USB copy of ROMs:
(ensure that your USB is formatted to FAT32)
1. First create a folder called retropie on your USB stick.
2. Plug it into the pi and wait for it to finish blinking.
3. Pull the USB out and plug it into a computer.
4. Add the roms to their respective folders (in the retropie/roms folder).
5. Plug it back into the Raspberry Pi.
6. Wait for it to finish blinking.
7. You can now remove the USB stick.
8. Refresh emulationstation by pressing F4, or choosing quit from the start menu.
It should be noted that RetroPie uses a default partition size and won't natively maximize available storage on your microSD card. You can expand the default partition to consume all available space on your microSD card by following these instructions.
Now that all of the hard work is done, let's jump in and try a few games. RetroPie should automatically detect ROMs and their associated emulator (based on directory structure).

